Mifactoris Open Shelve Nodes – key design information and hints
*
Overview
1. (2 types) 2 types of nodes ↓
2. (stoppers) how to fix nodes on the horizontal bar? ↓
3. (boards) how to attach them? ↓
4. (materials) upcycling friendly? ↓
5. (angles) other than 90° ↓
6. (size) how tall? ↓
7. (gallery) use cases ↓
*
*
2 types of nodes
pics ↓
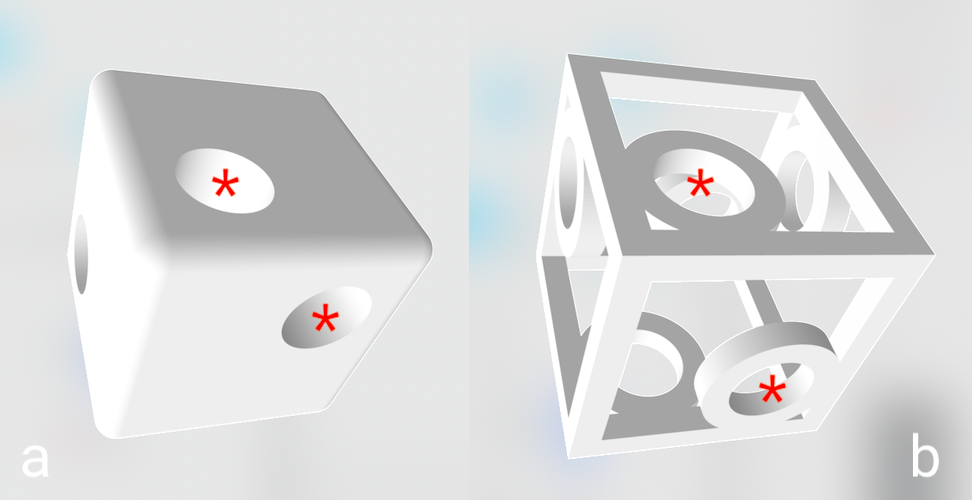
info ↓
- Geometrically there are 2 different versions possible. (We explained this during the open factory streaming #4 at 1h21m57s).
- How to differentiate? When you align both nodes so that on the top the hole is on the front left then type A has the front hole at the top right and type B has the front hole at the bottom right.
- This is important to understand. Because you can’t combine the same version on the same side of your shelve. The rods won’t meet. You can however have type A on one side and type B on the other side. But we would recommend to produce just one type to avoid any confusion or problems when setting the shelve up. (If you start from 2d parts you can assemble both types.)
*
*
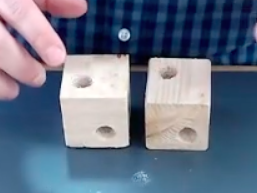
stoppers
pics ↓


info ↓
How to make sure the nodes don’t slide down (and also don’t slide out on the sides). There are several solutions (more pictures soon).
- Some of the 3d printed shelve nodes have internal threads so they work as set collars.
- Set collars work when you can find some to fit your rods. We will make our own from acrylic in an upcoming open factory stream. The wood and concrete version will show how to integrate a nut into the design to make also these versions have “internal set collars”.
- Rubber bands work when your shelve is not supposed to carry heavy weight. The silicone version has the rubber band solution build in and as you can see in the prototype it is quite strong. Don’t forget you can make your own very strong and durable rubber bands from old bike tires.
- Pipe and hose clamps – there are many pipe and hose clamps in the market. Some of them work well with a shelve.
- You can also think about drilling holes in the rods and put strong sticks through them. But this is a pretty invasive technique we aren’t too keen to use and that might also weaken the shelve.
- More ideas? Let us know.
*
*
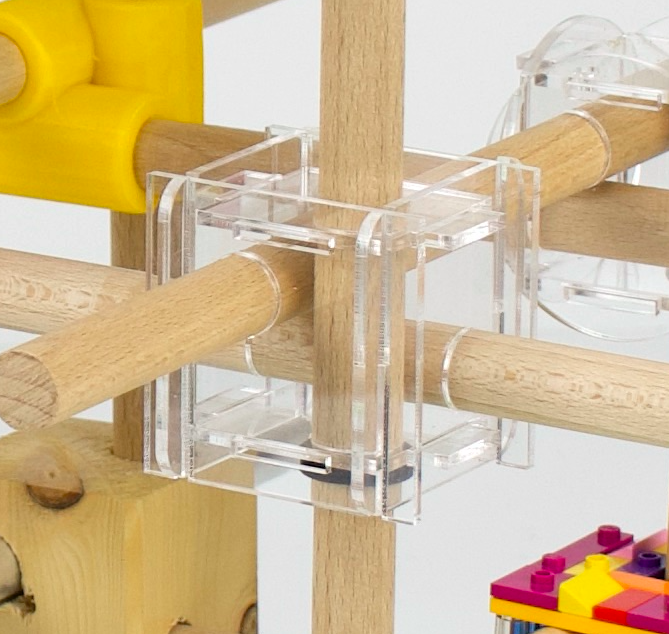
boards
*
*
materials (upcycling friendly)
pics ↓
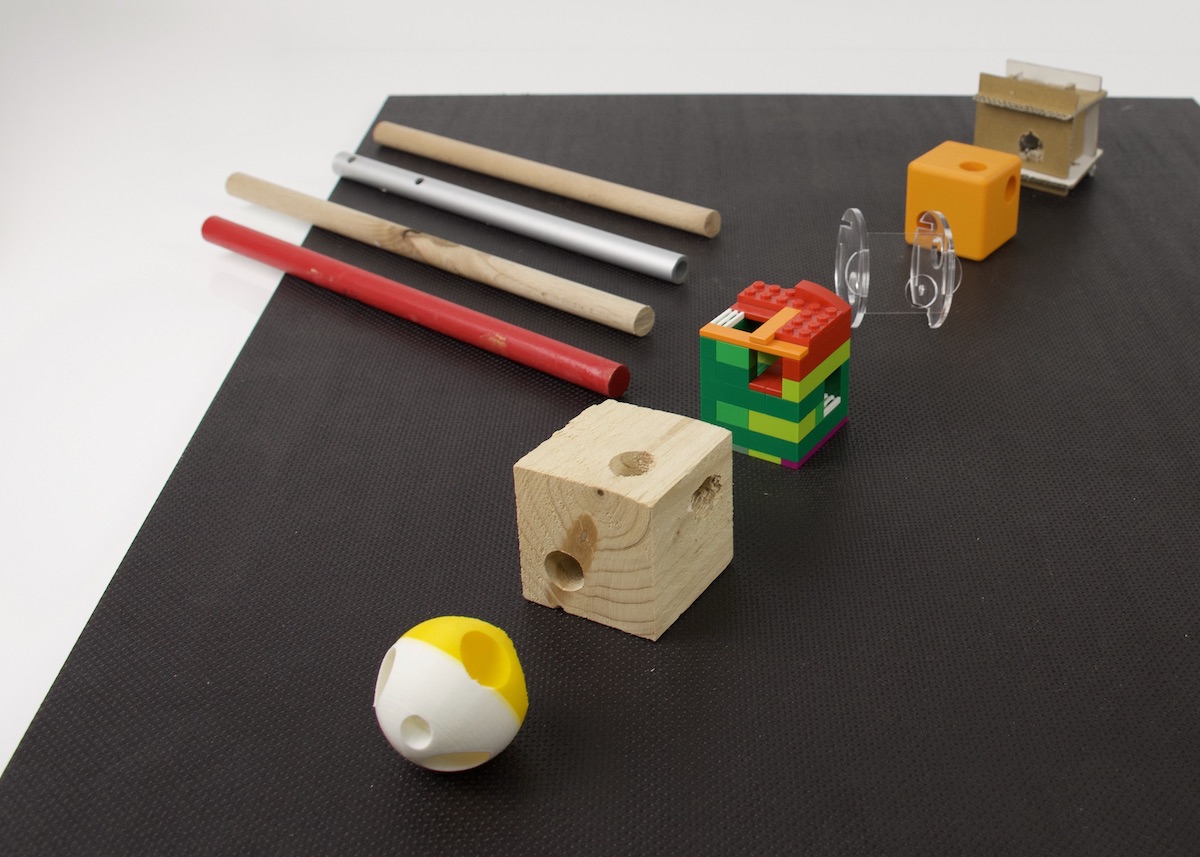
info ↓
- Find rods in the trash or somewhere else (old children beds etc.). Measure the diameter. Make open shelve nodes for them.
- You can make shelve nodes with different sized holes – so 3 different rods go through one shelve node.
- You can make shelve nodes from left over material (wood, recycled plastic, cardboard +)
*
*
angles
is it possible to make other angles than 90°? Yes. See → external post.
*
*
size (how tall)
pics ↓
[IMG]
info ↓
- soon
*
*
gallery
pics ↓
[IMG]
info ↓
- soon
*
*
Questions, suggestions?
cool! shoot us an email or ping on social media.
*
Back to → open shelve nodes overview