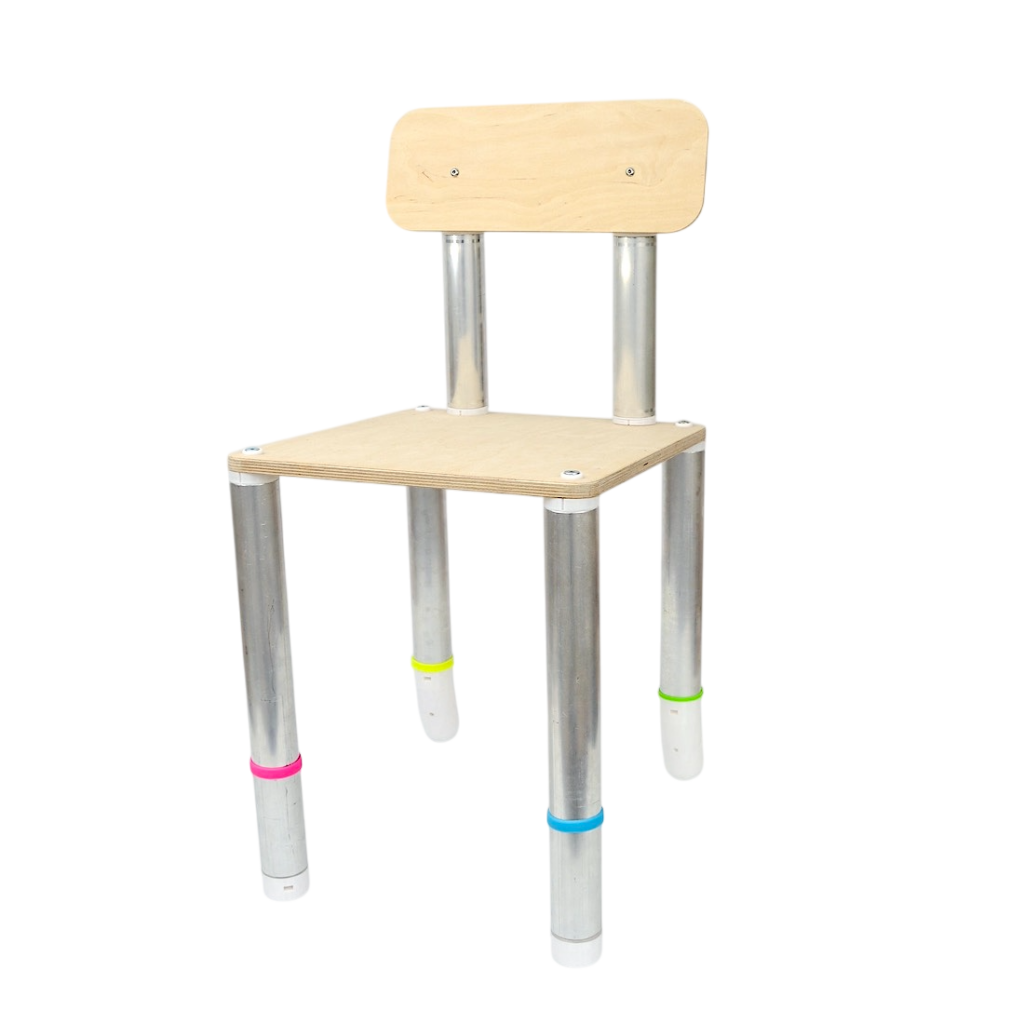
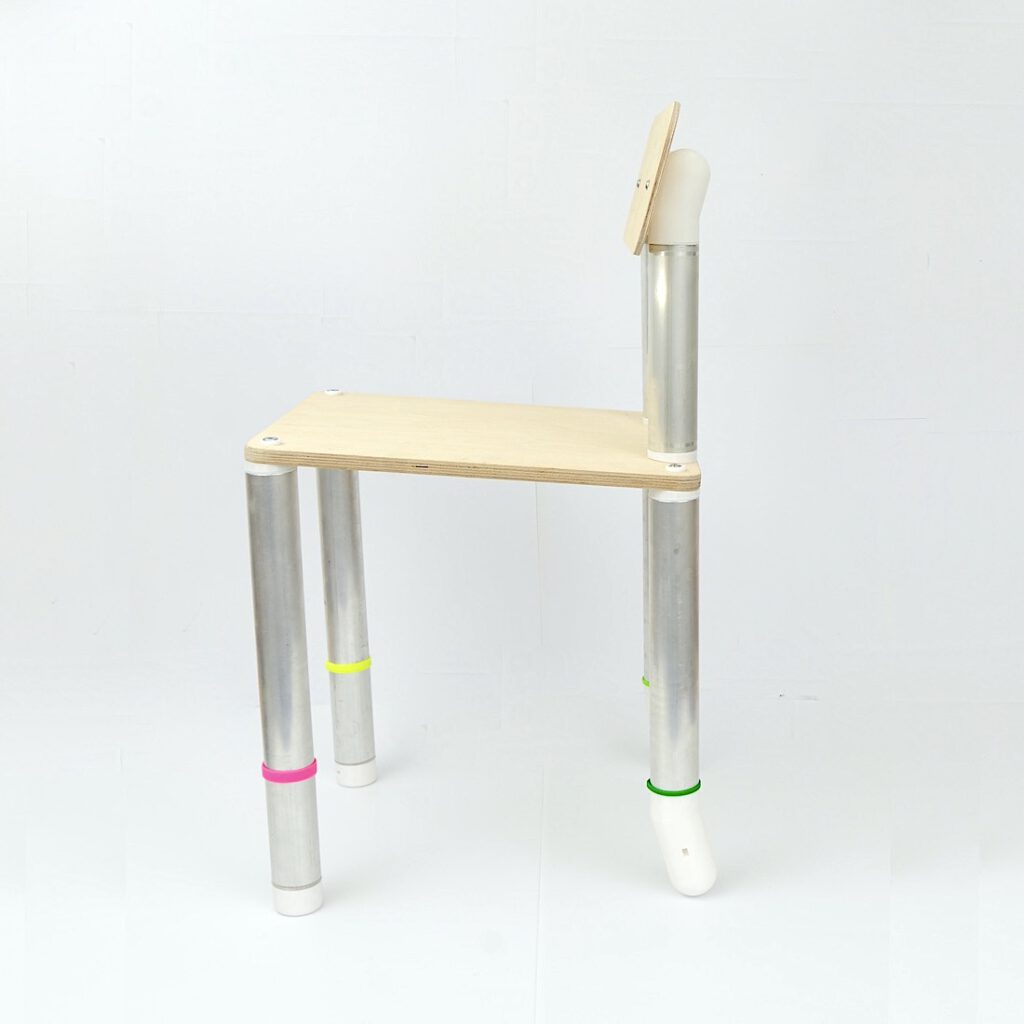
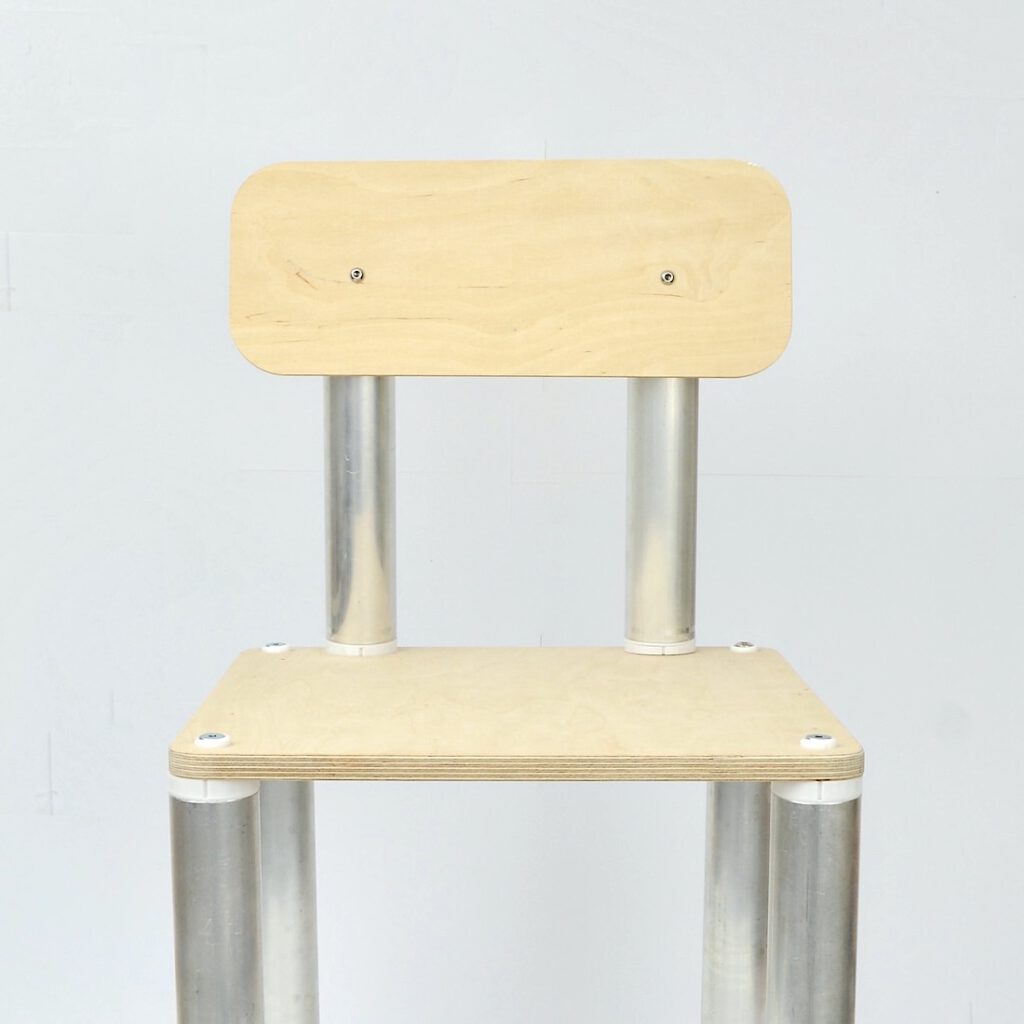
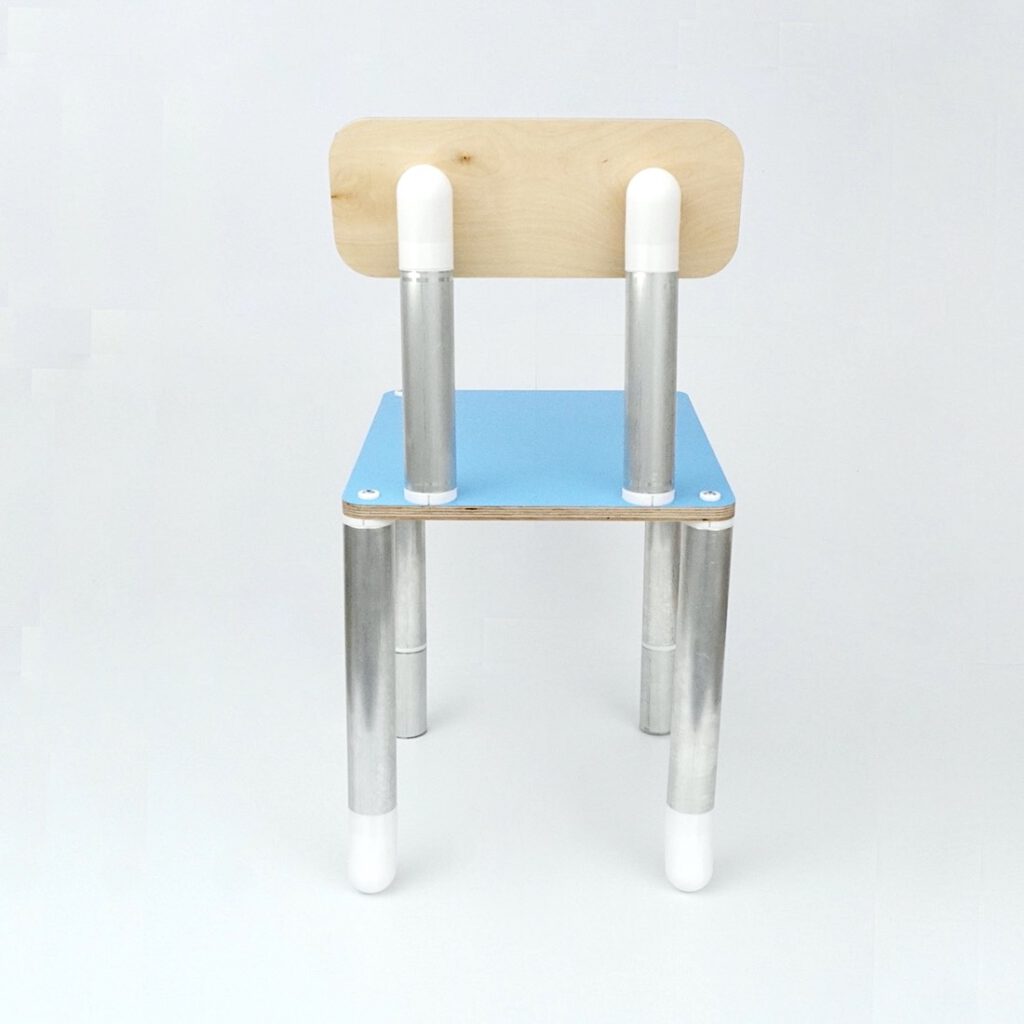
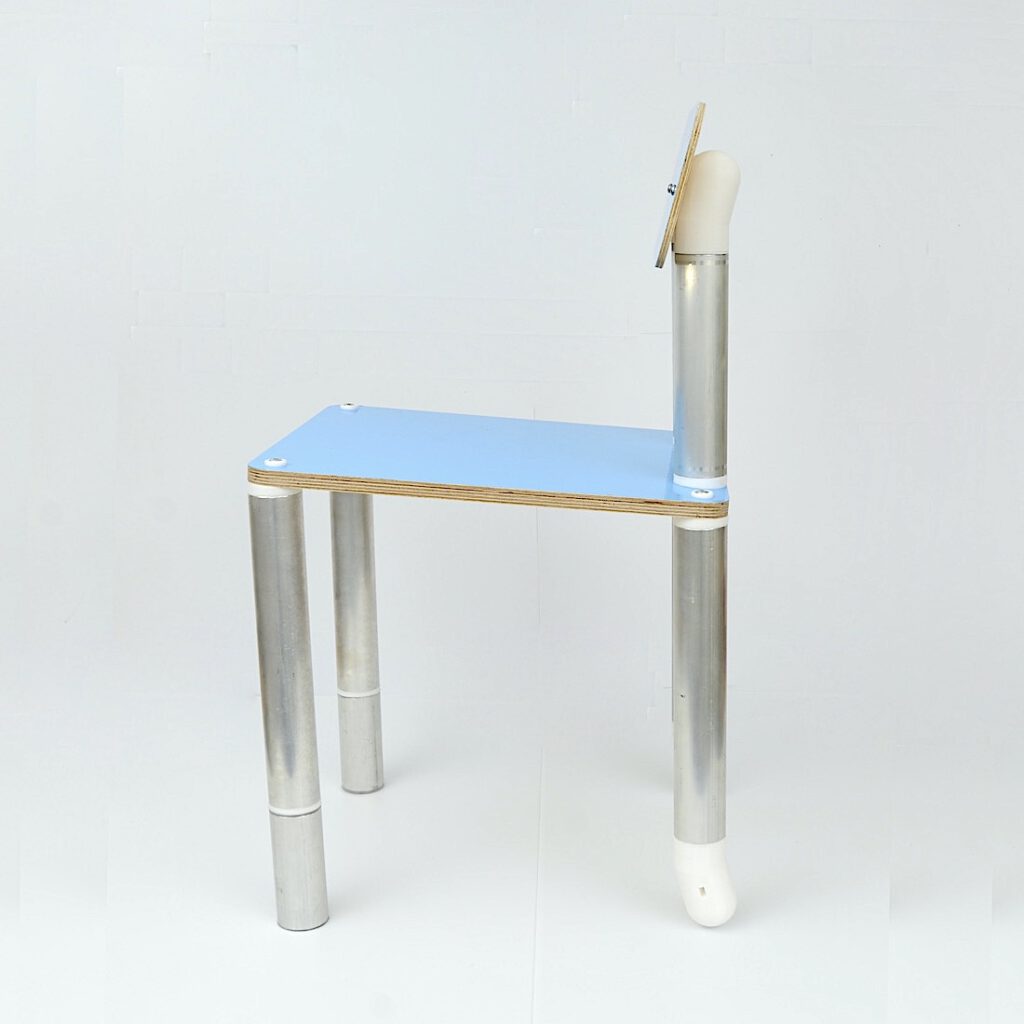
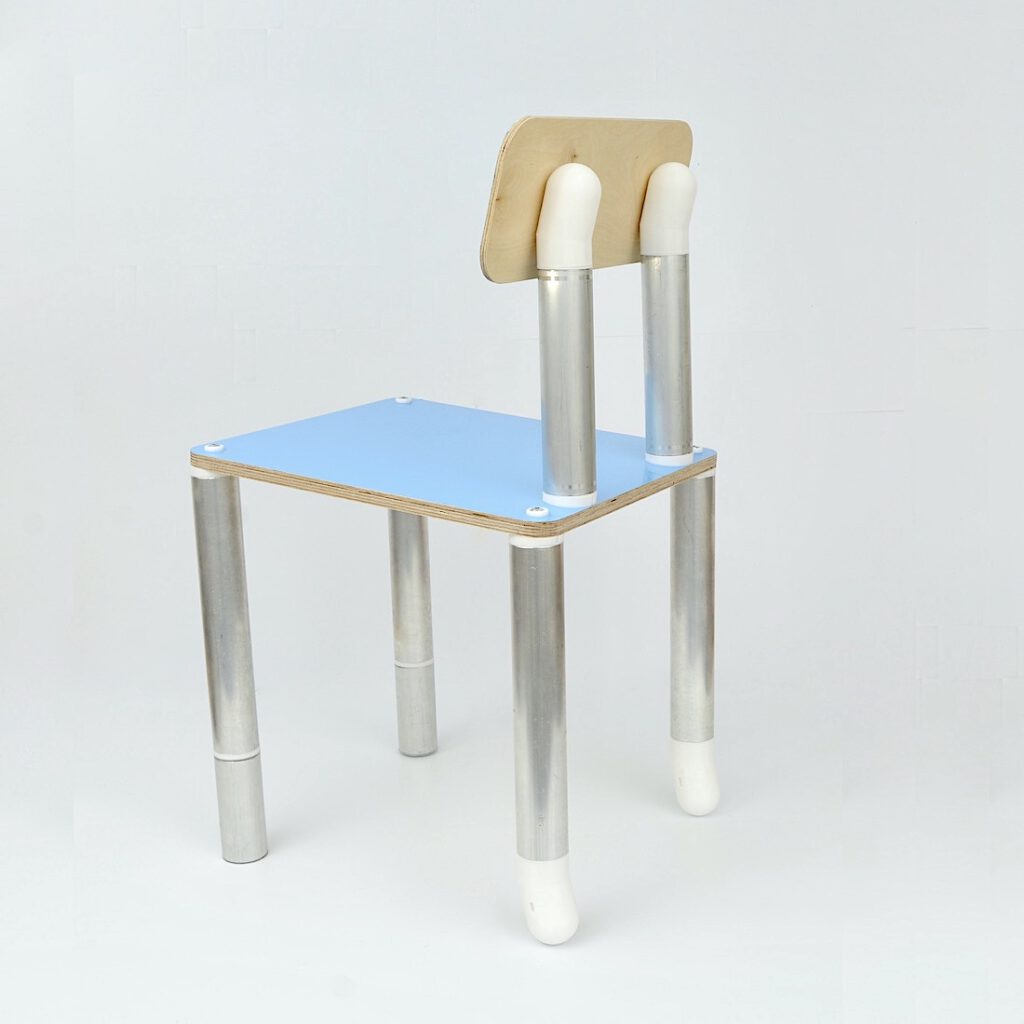
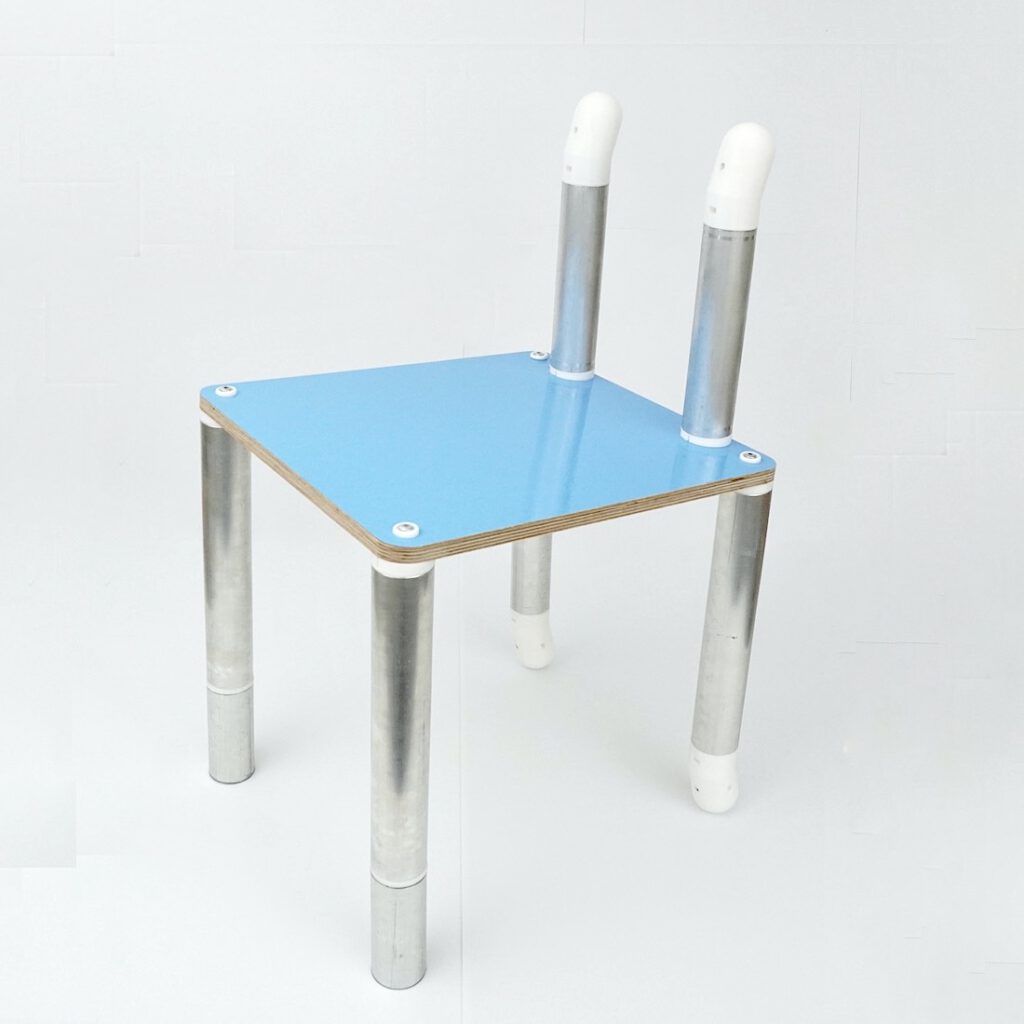
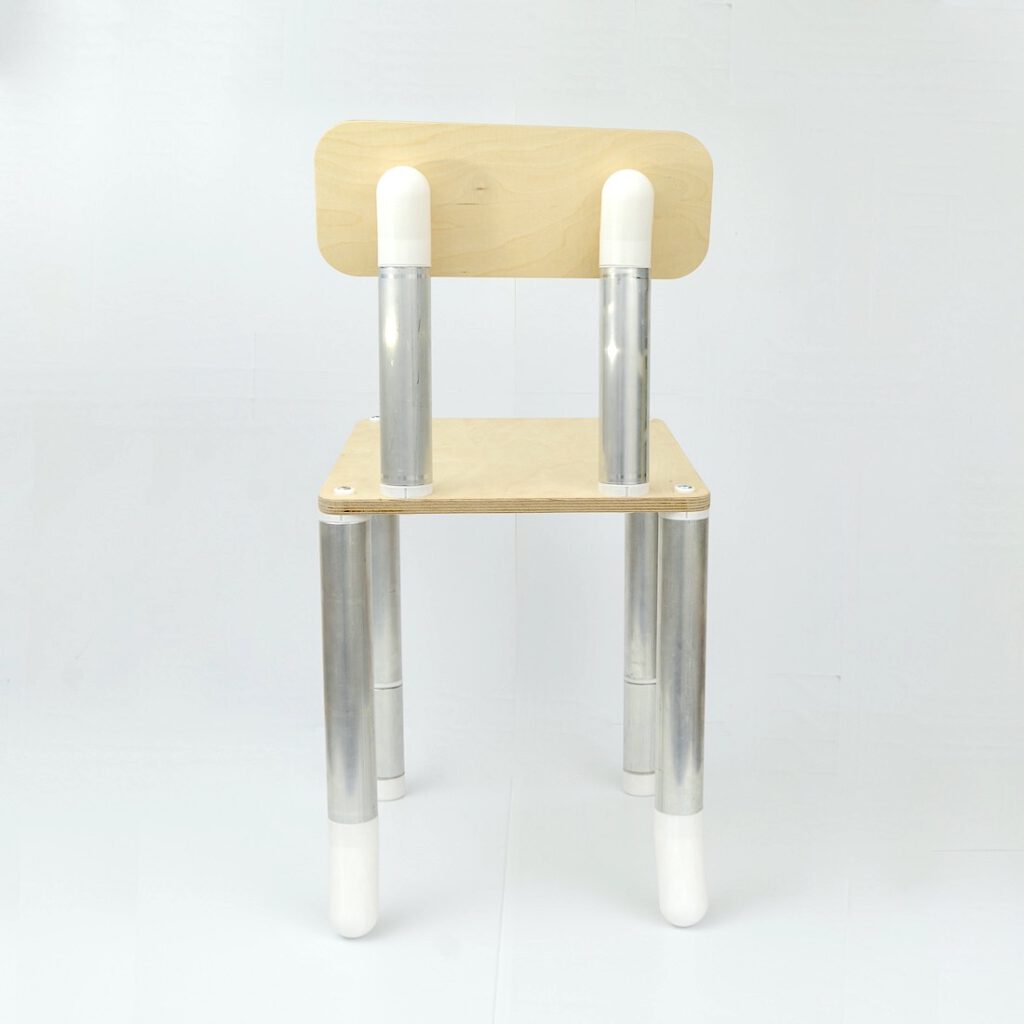
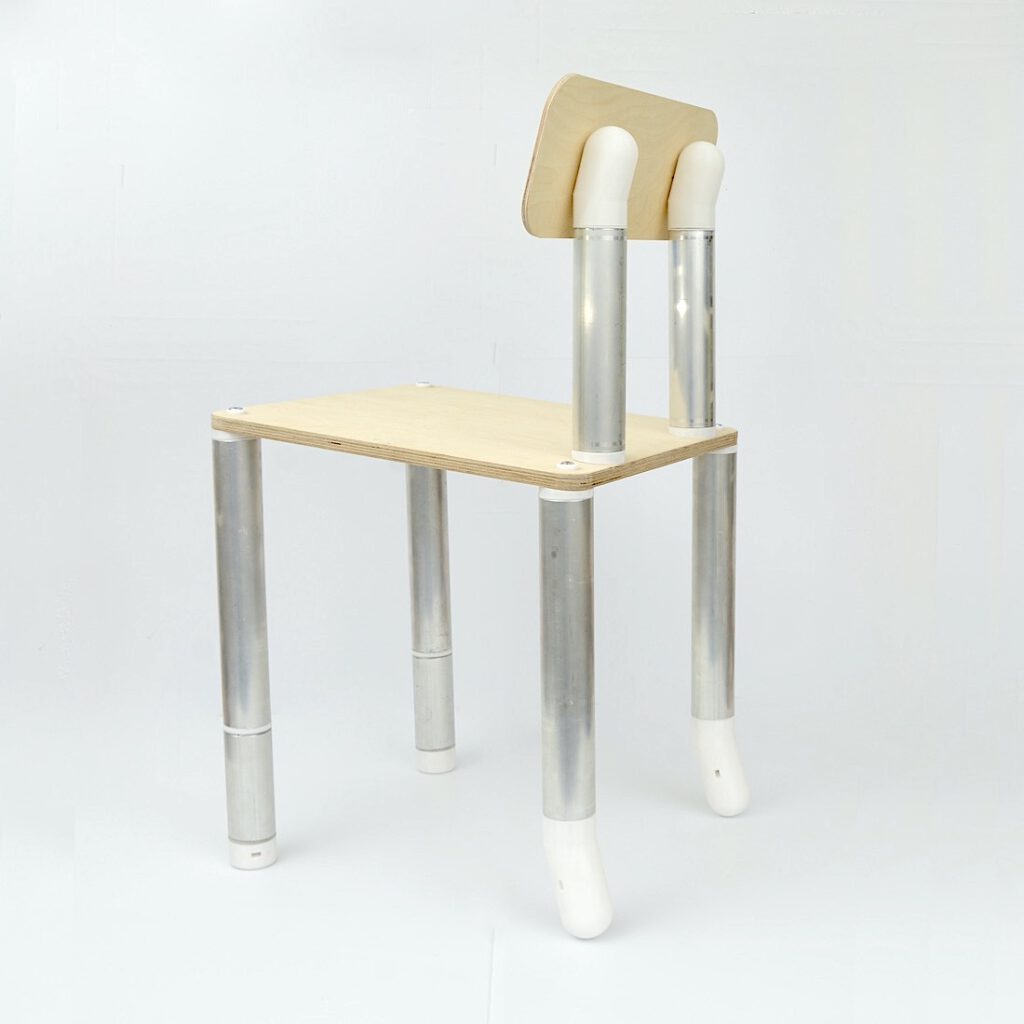
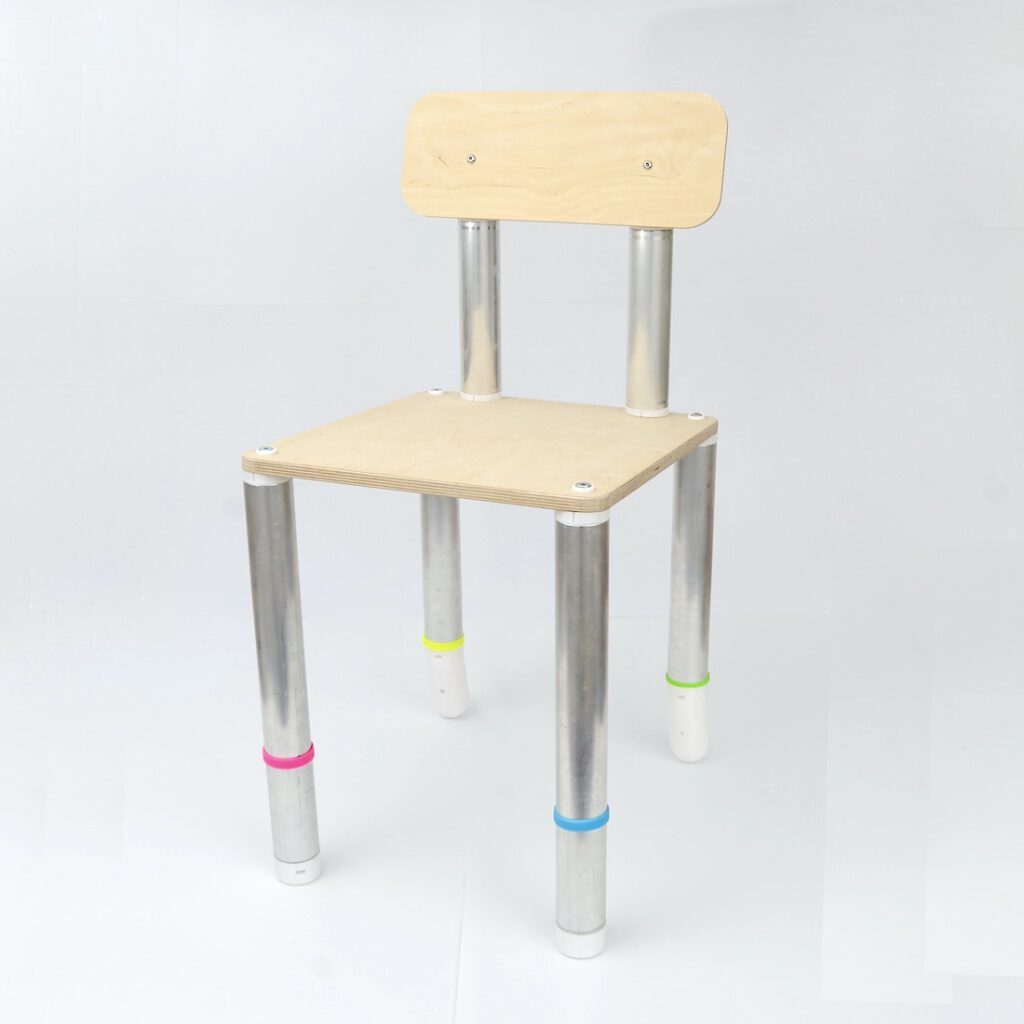
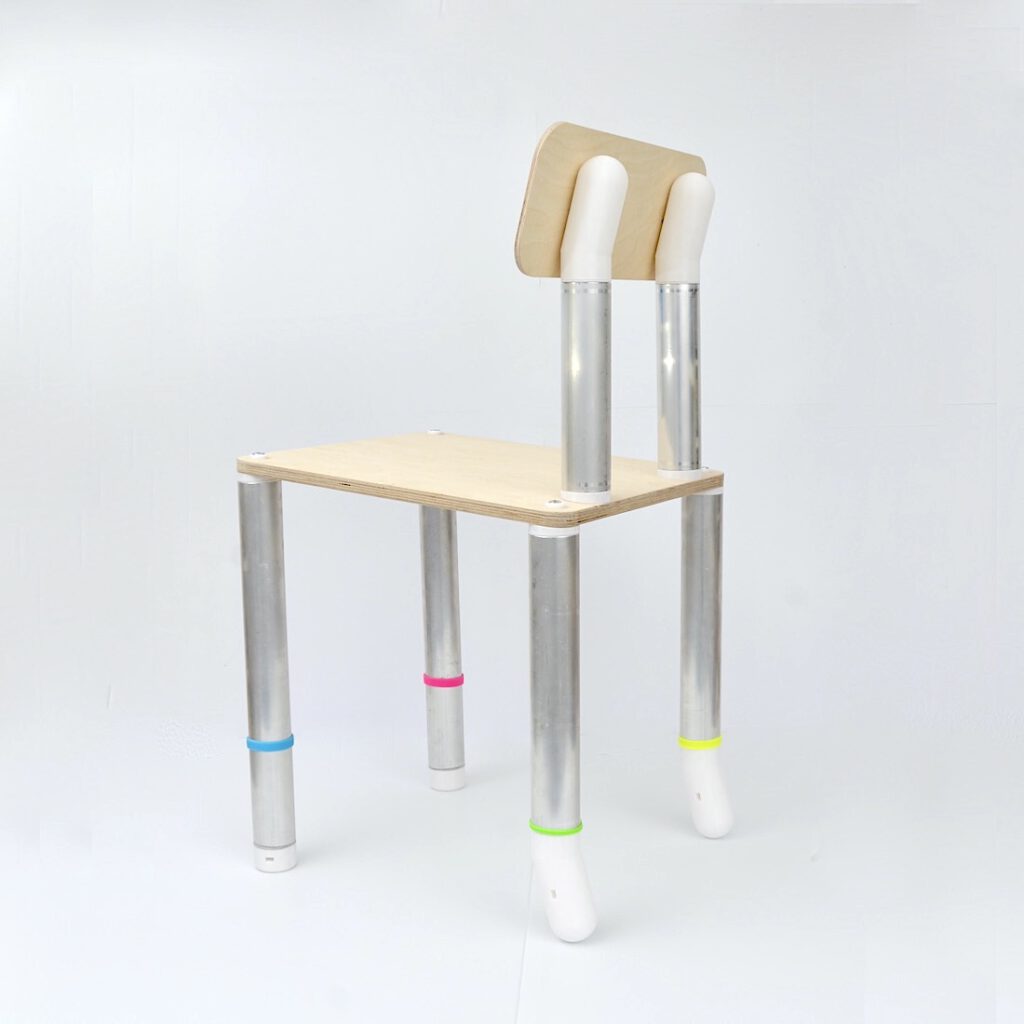
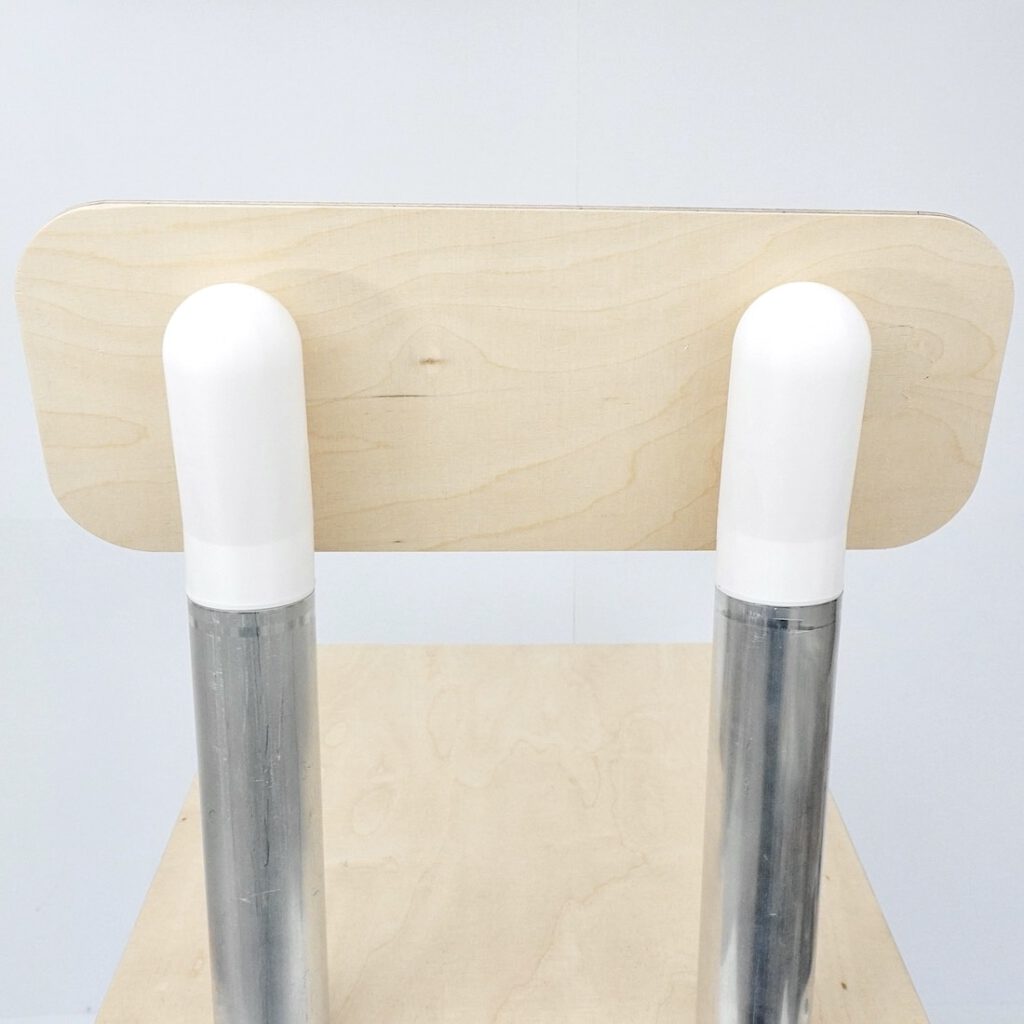
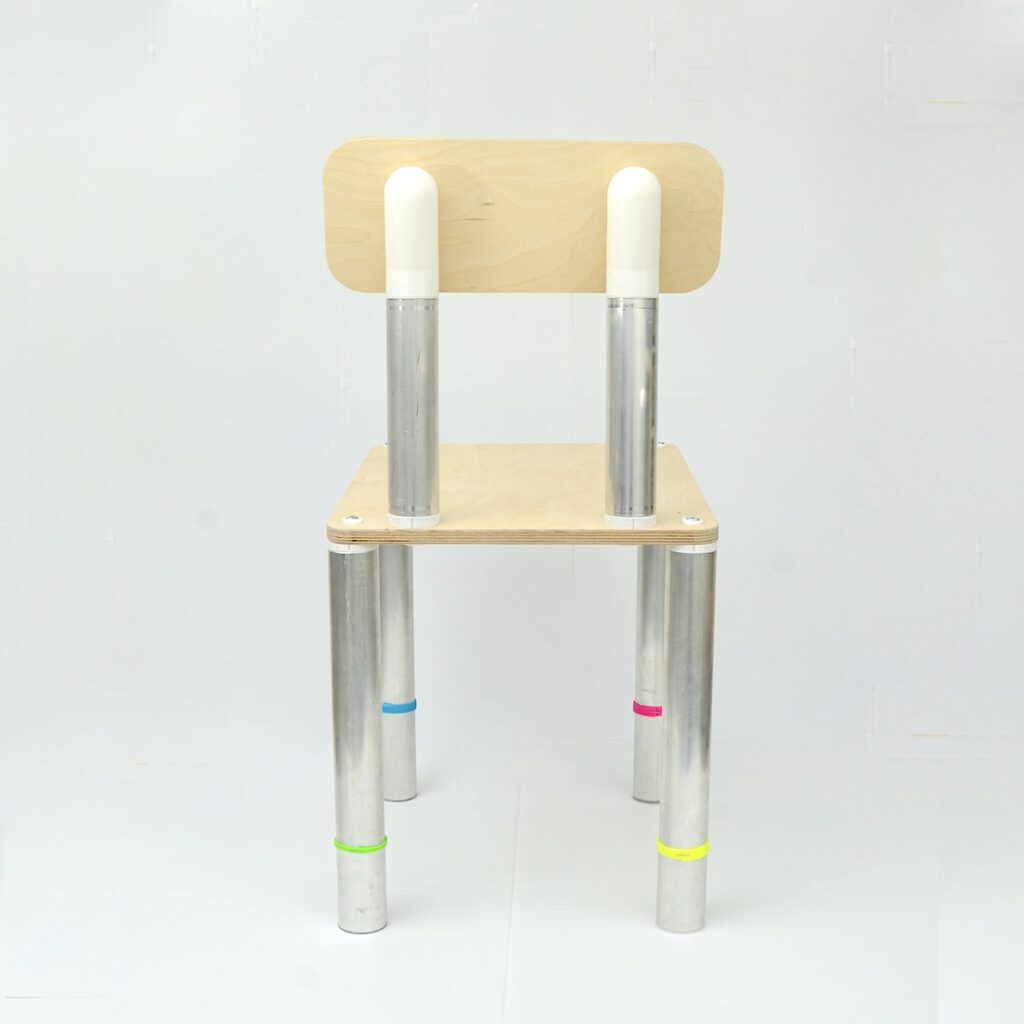
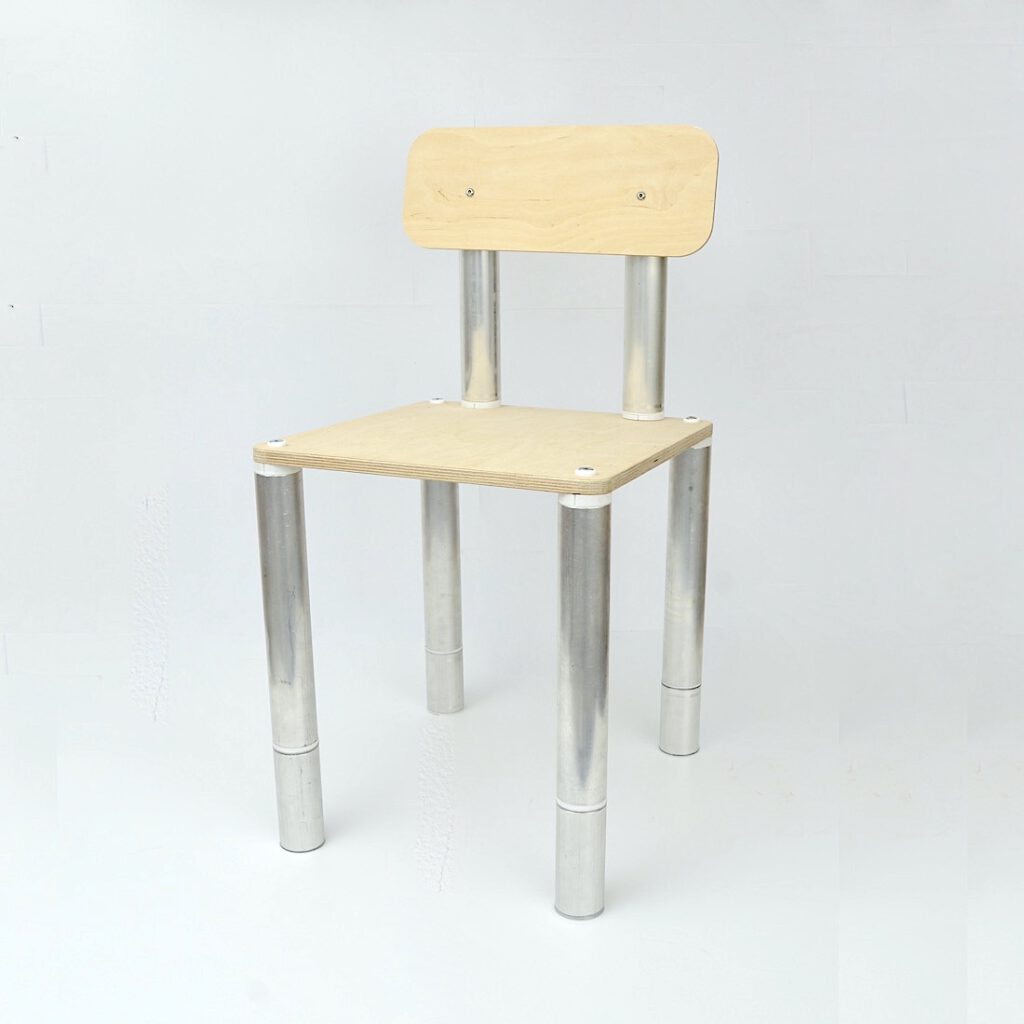
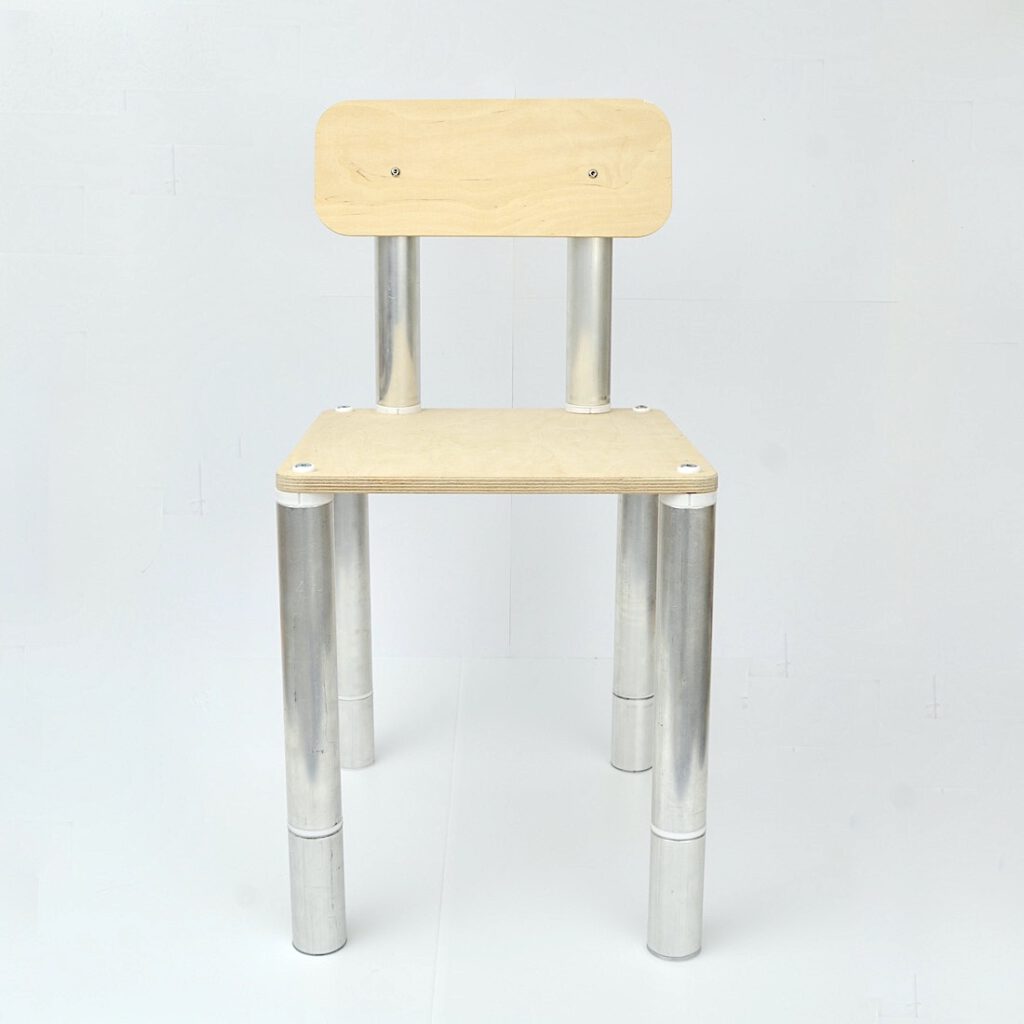
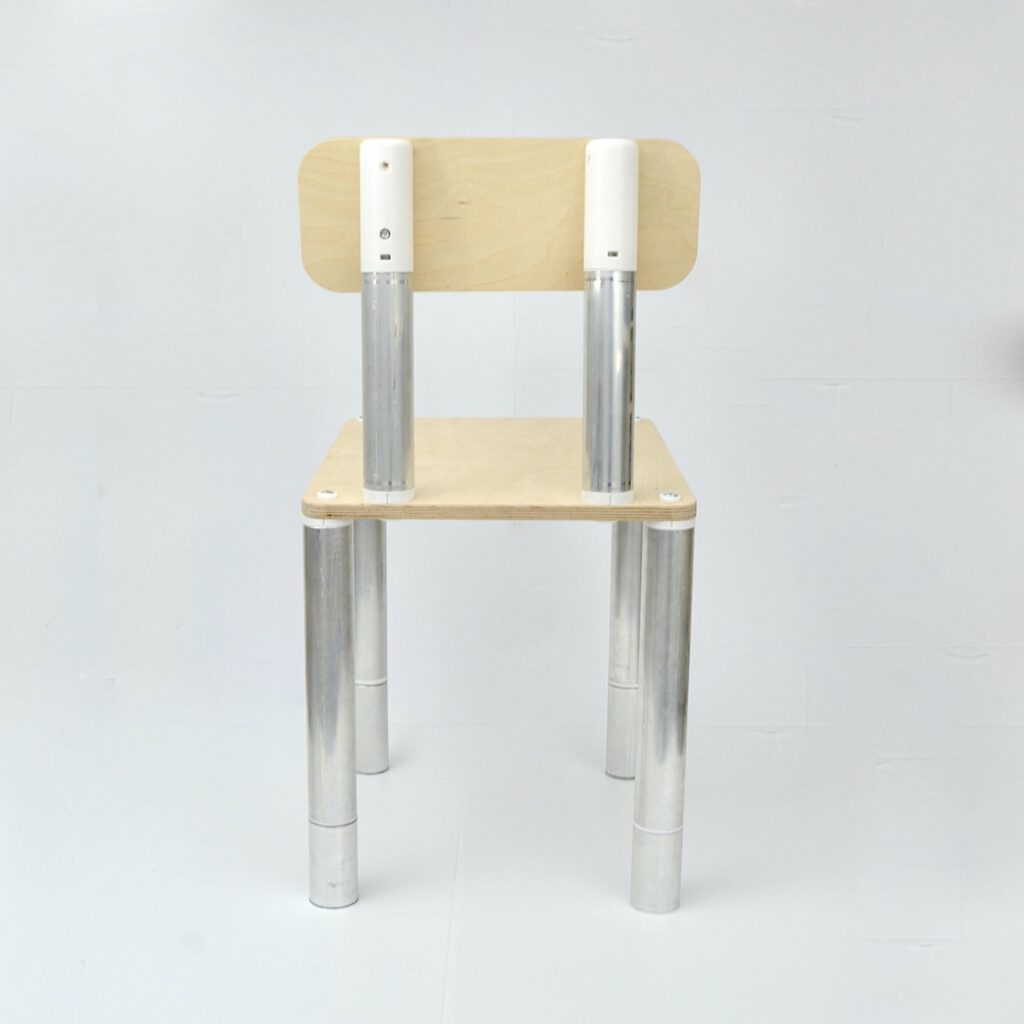
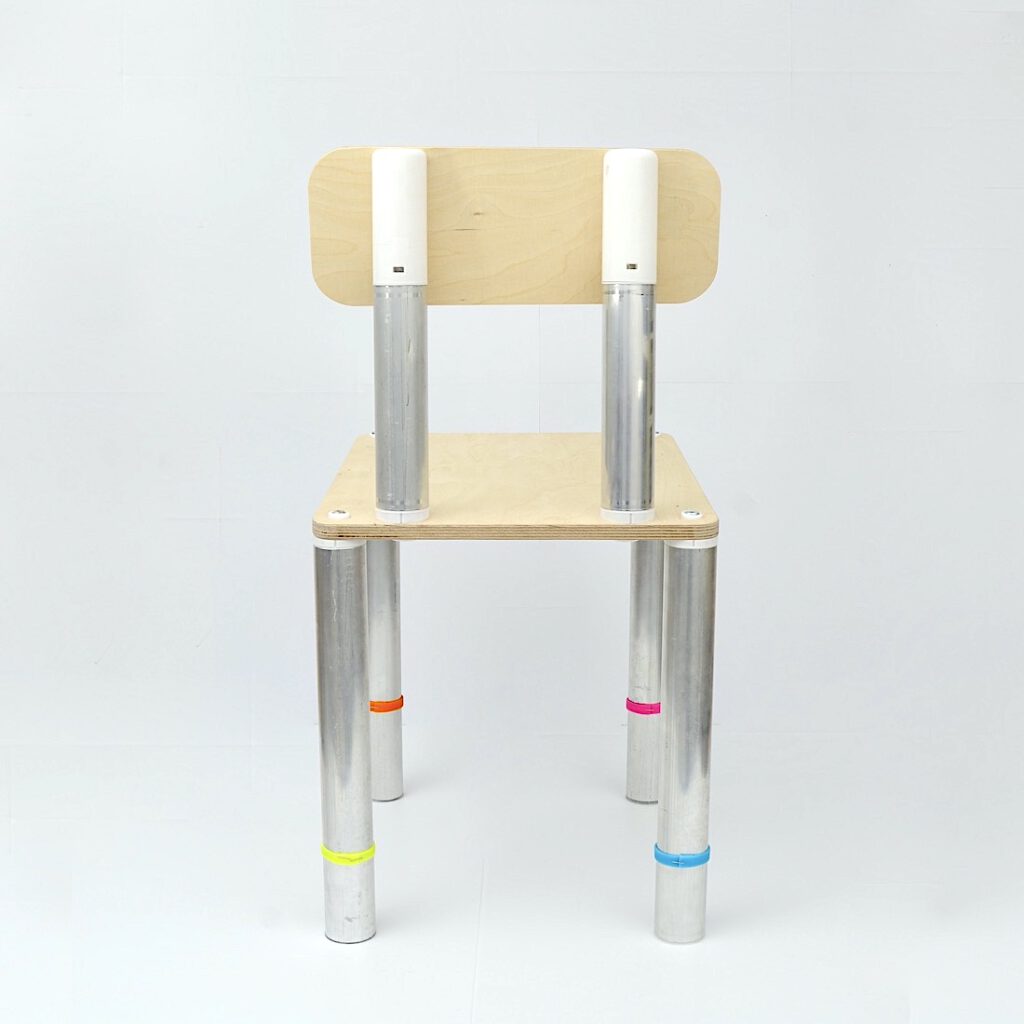
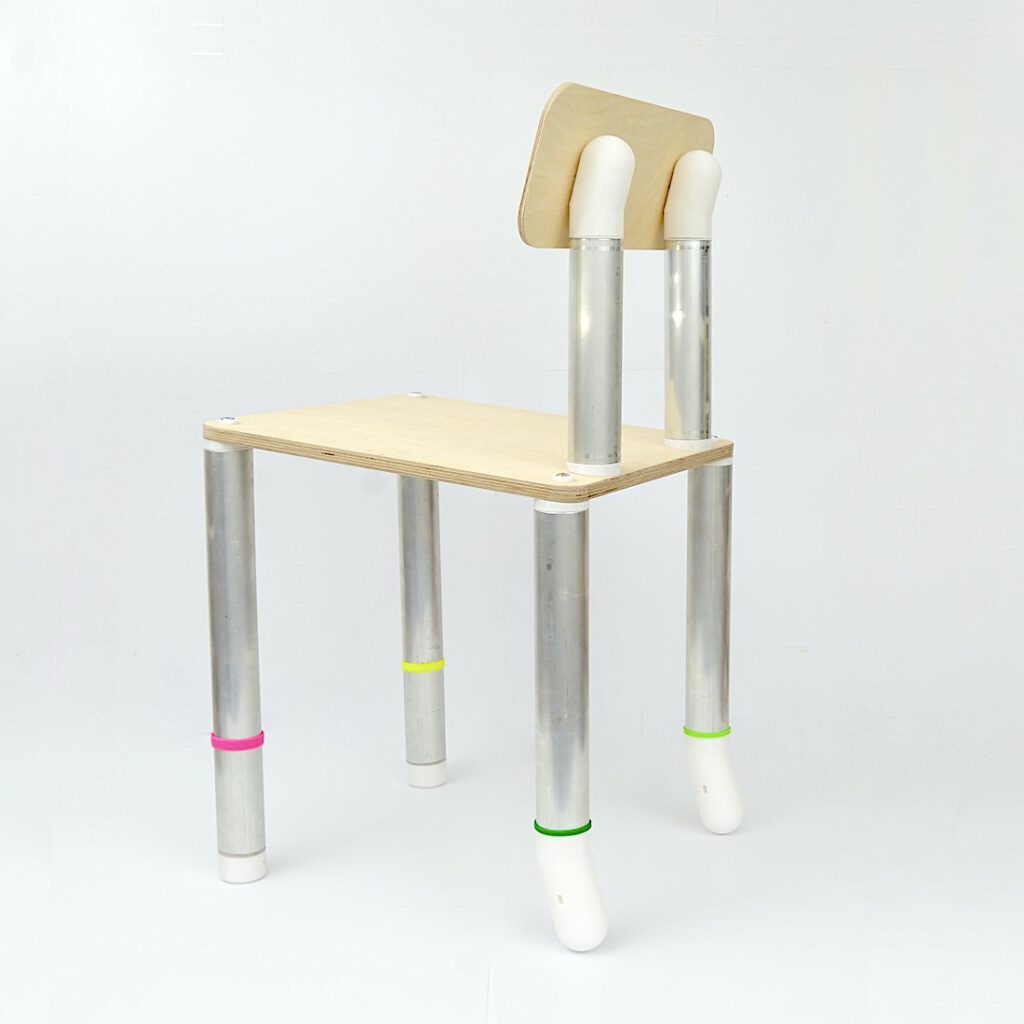
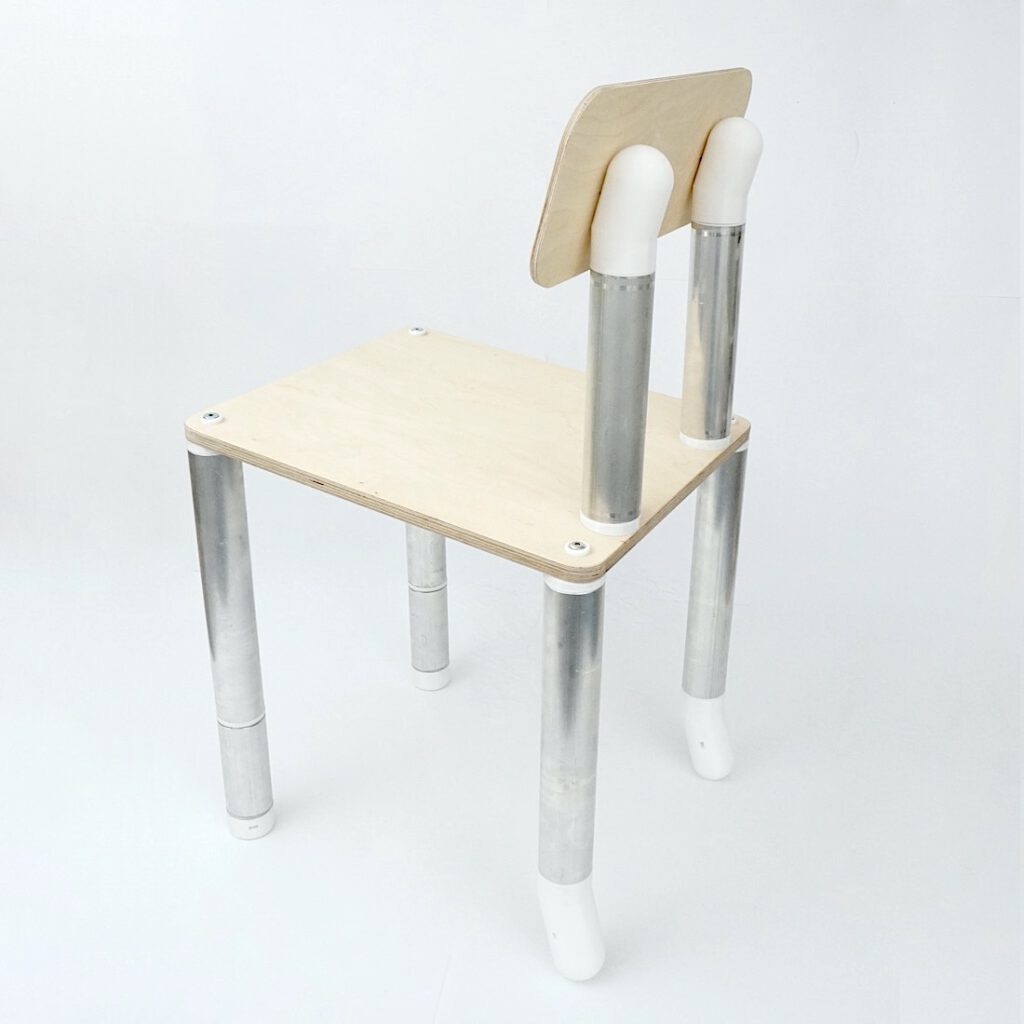
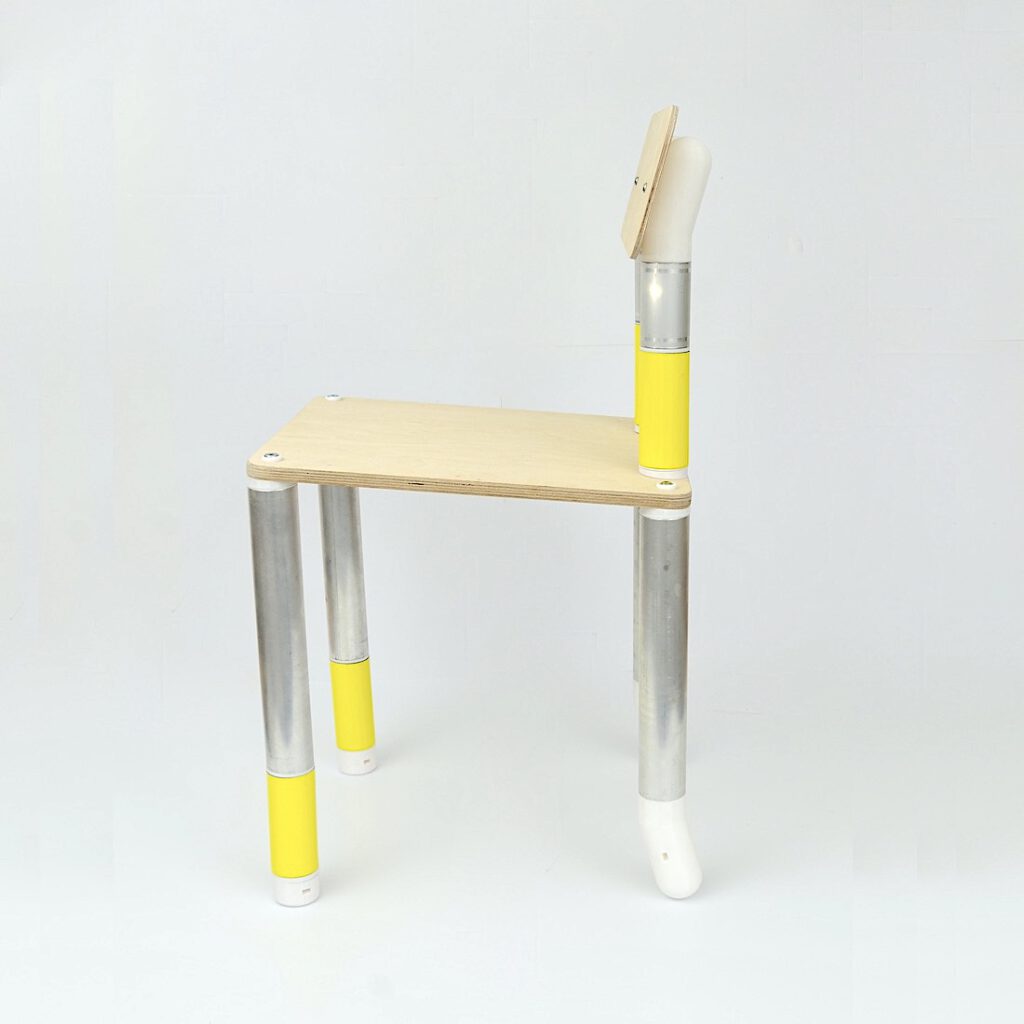
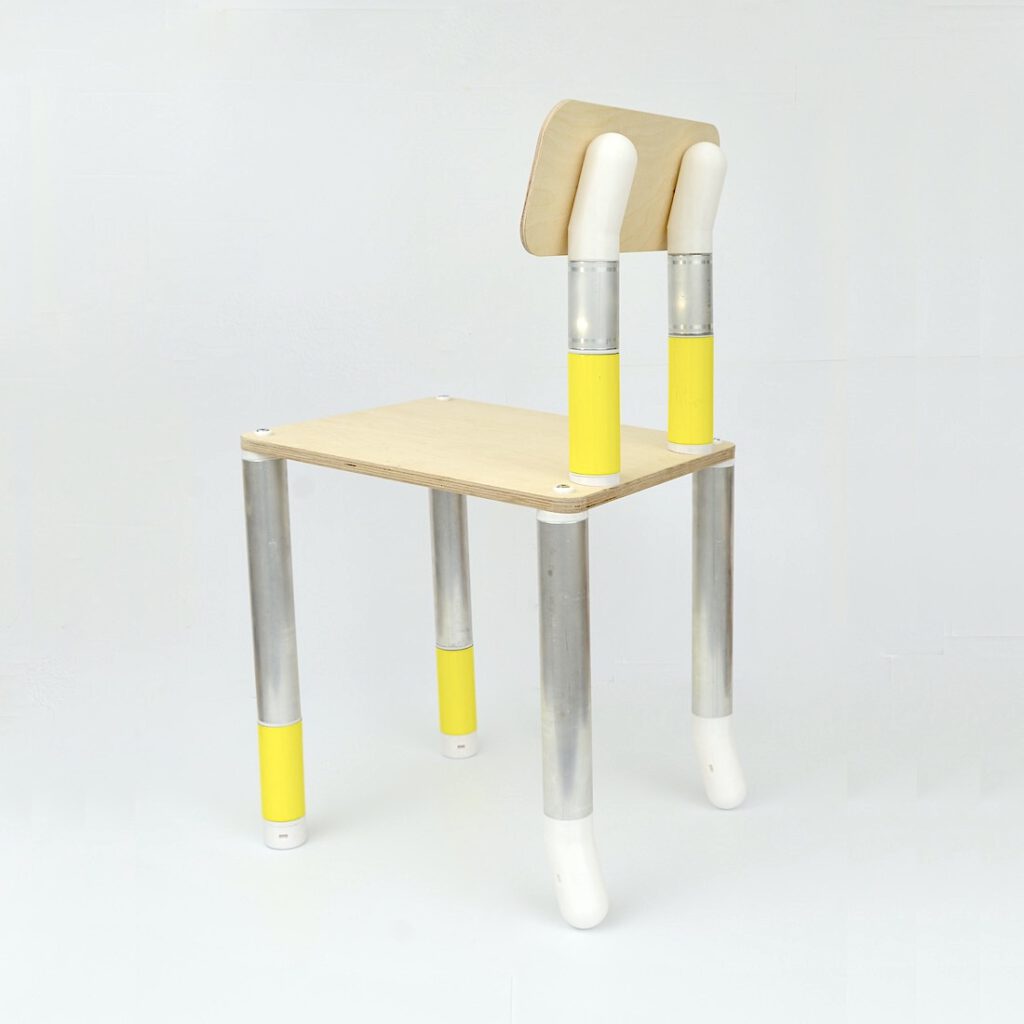
WORMS are modular Open Design chairs built from Ikego parts. They are a part of a family of circular solutions sharing the same parts.
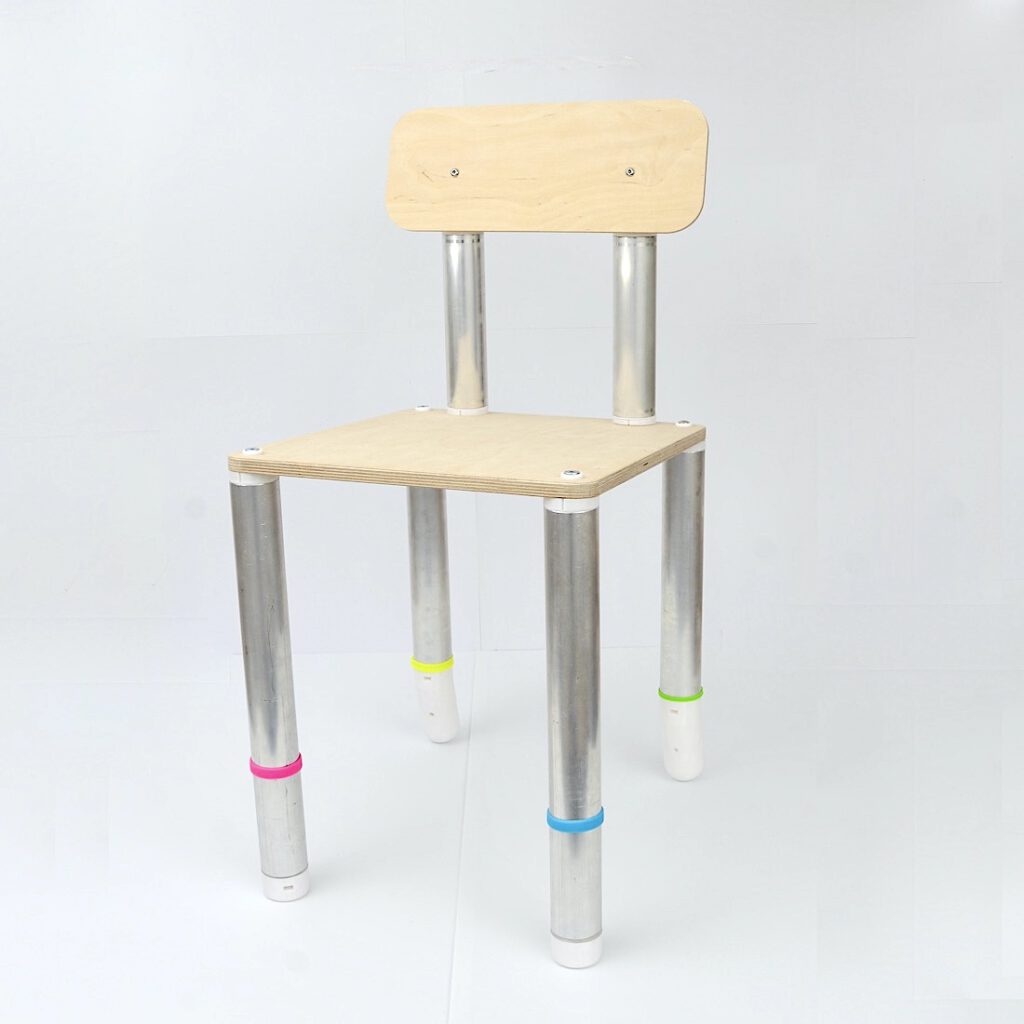
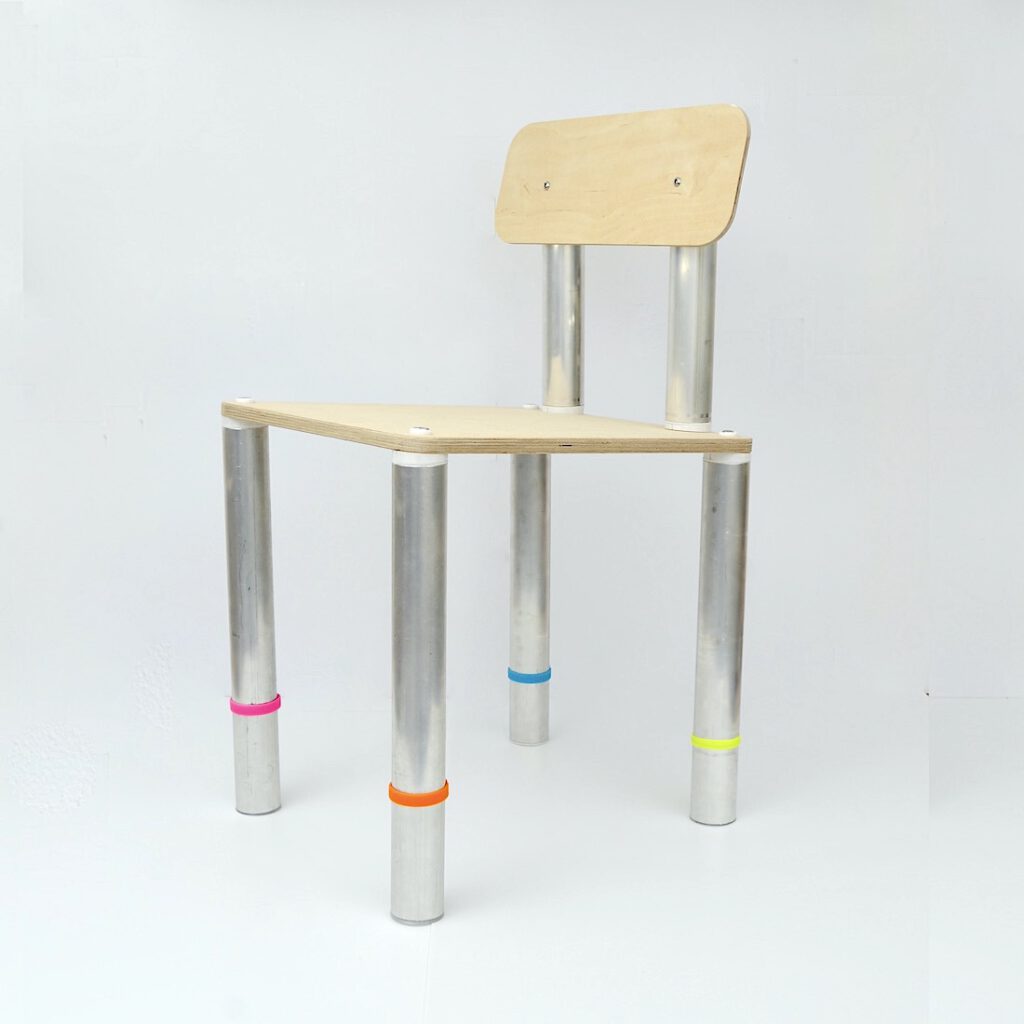
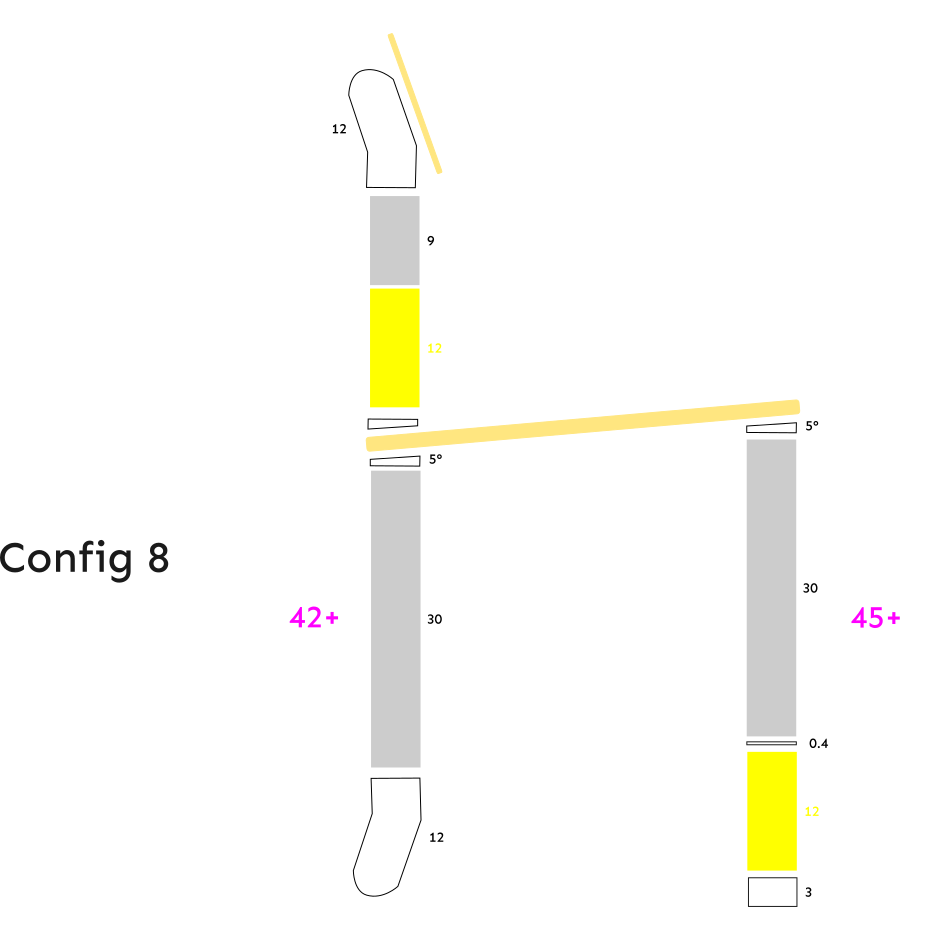
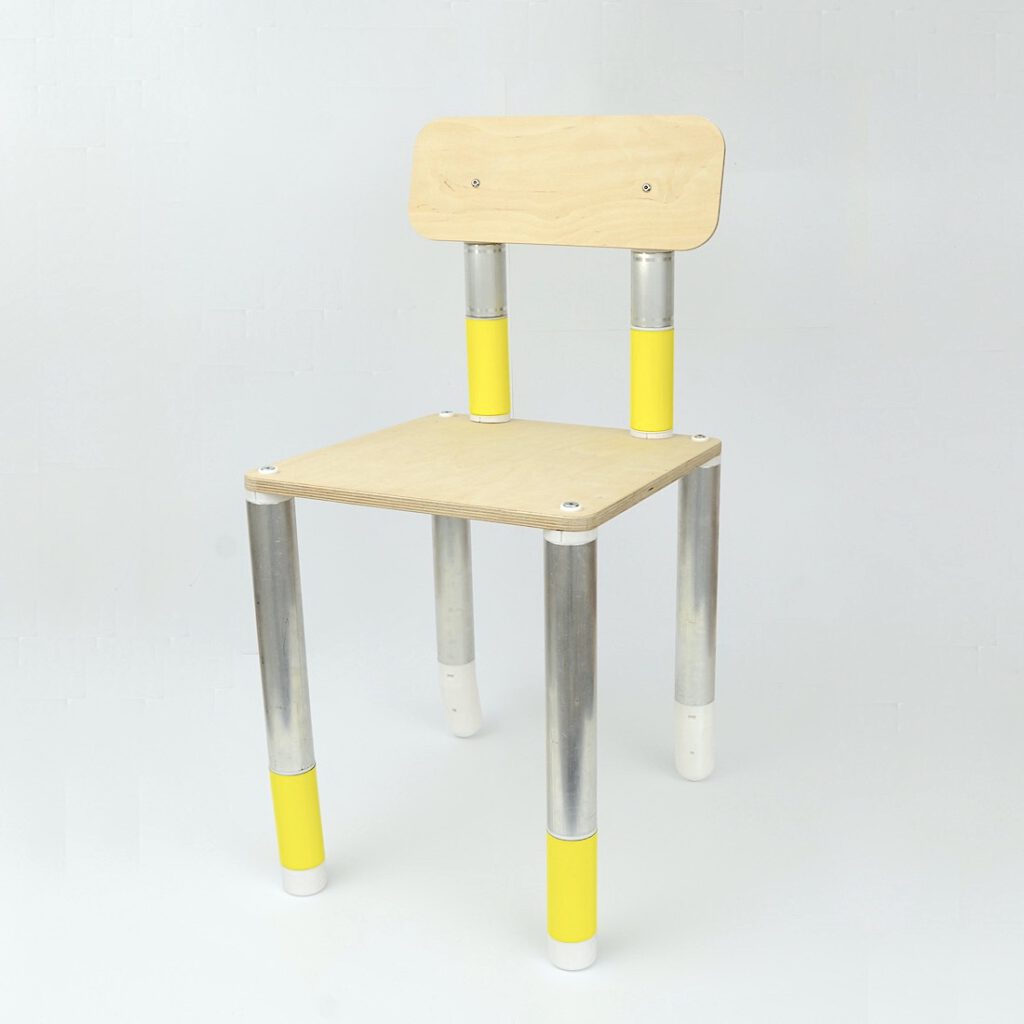
8 different versions, same idea:
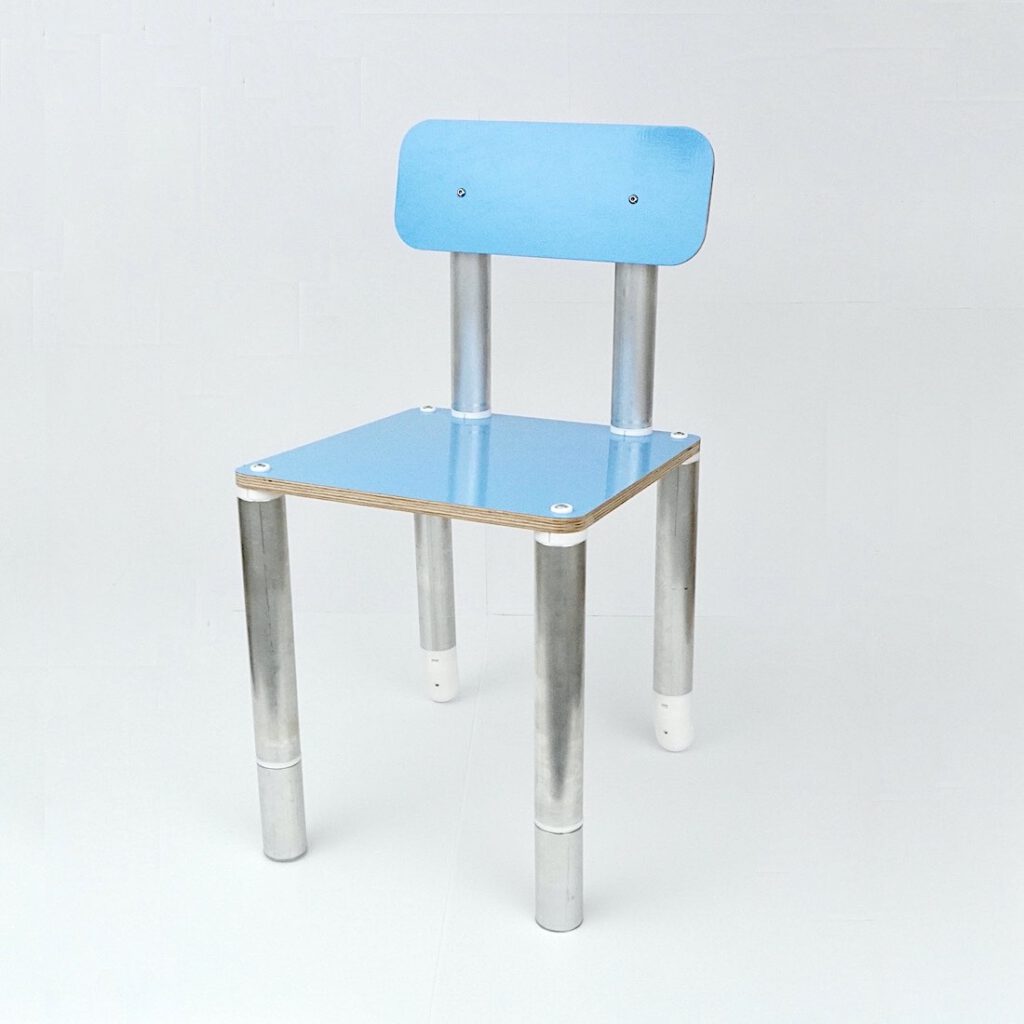
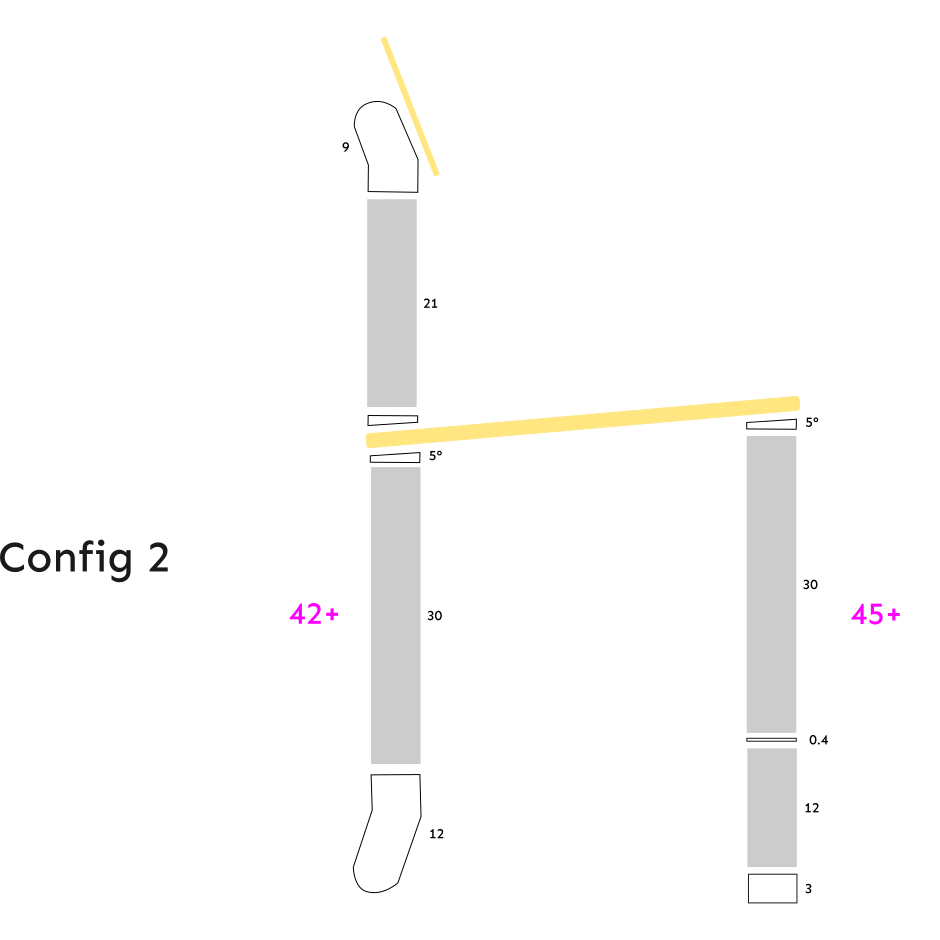
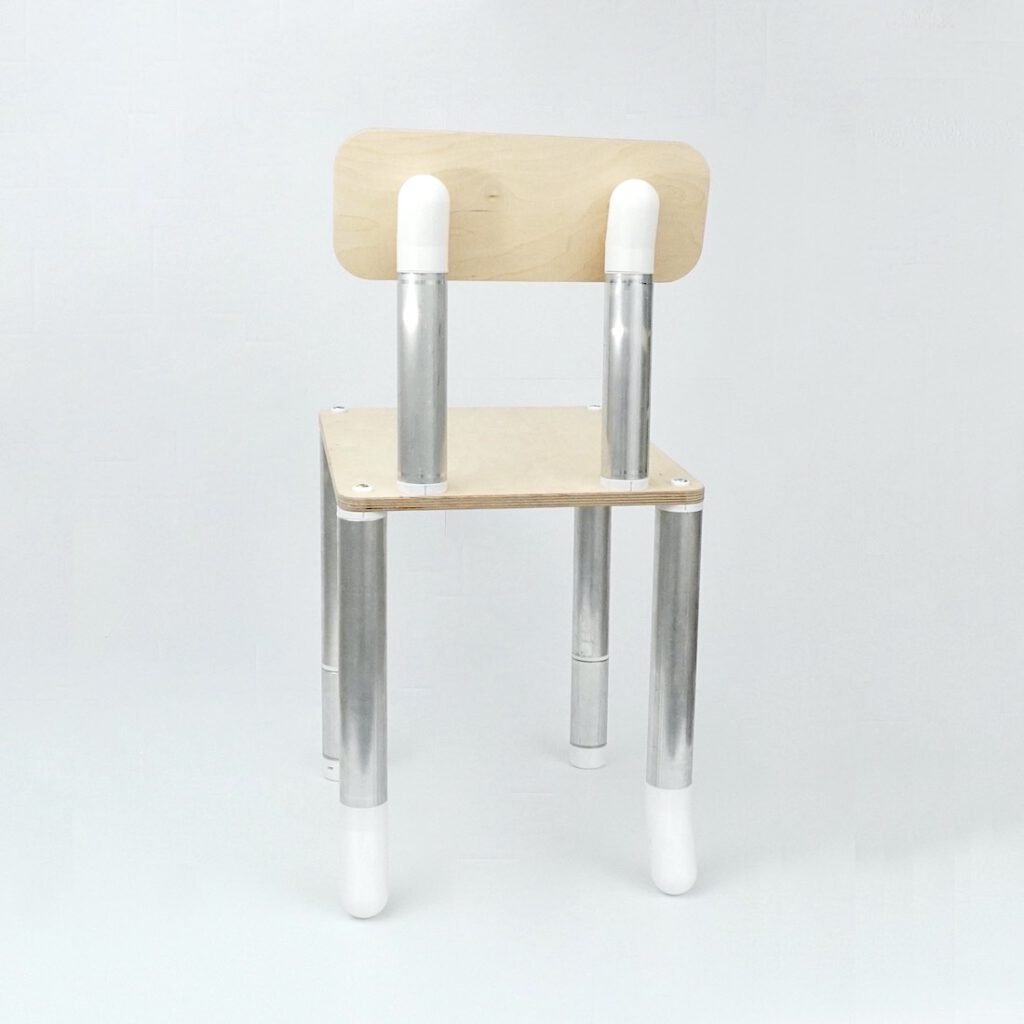
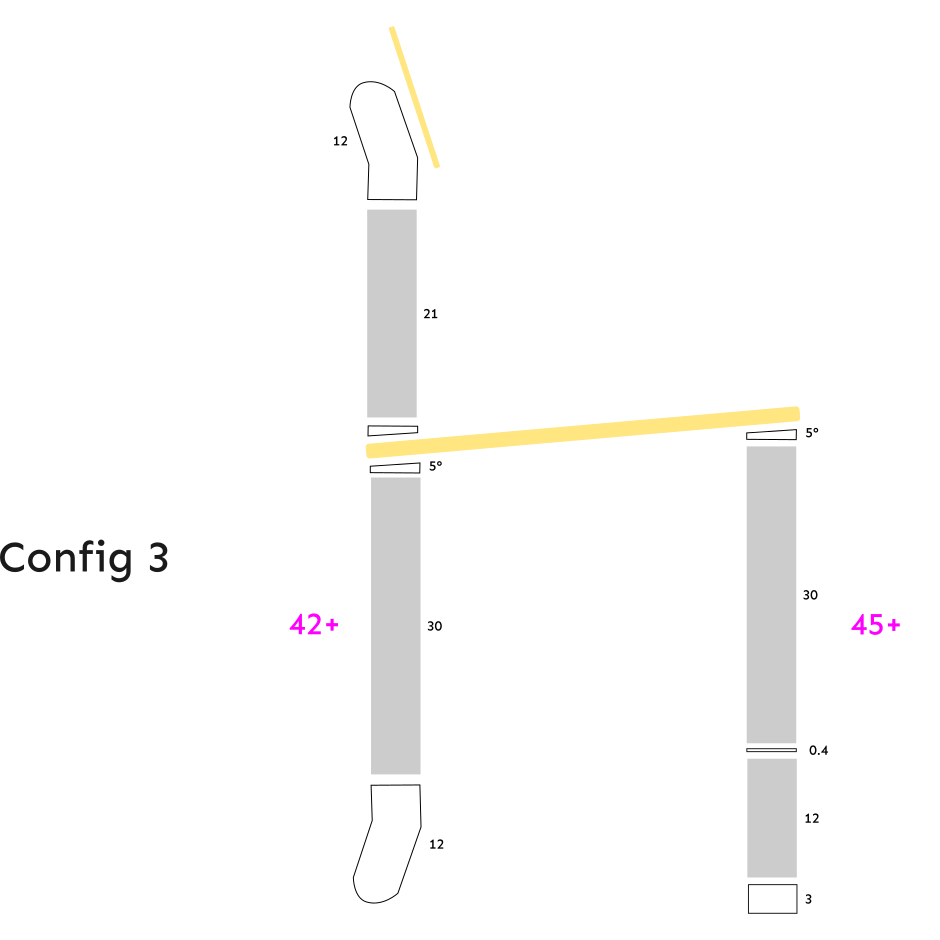
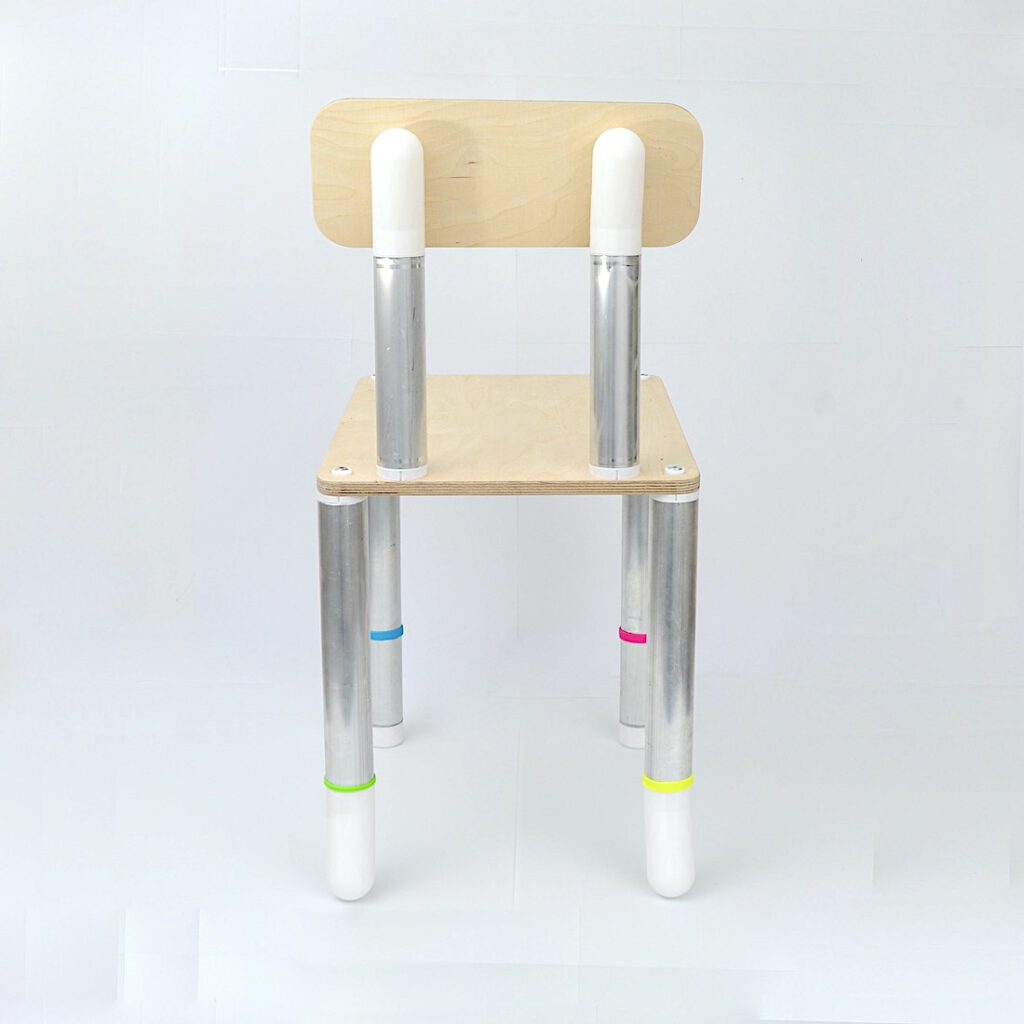
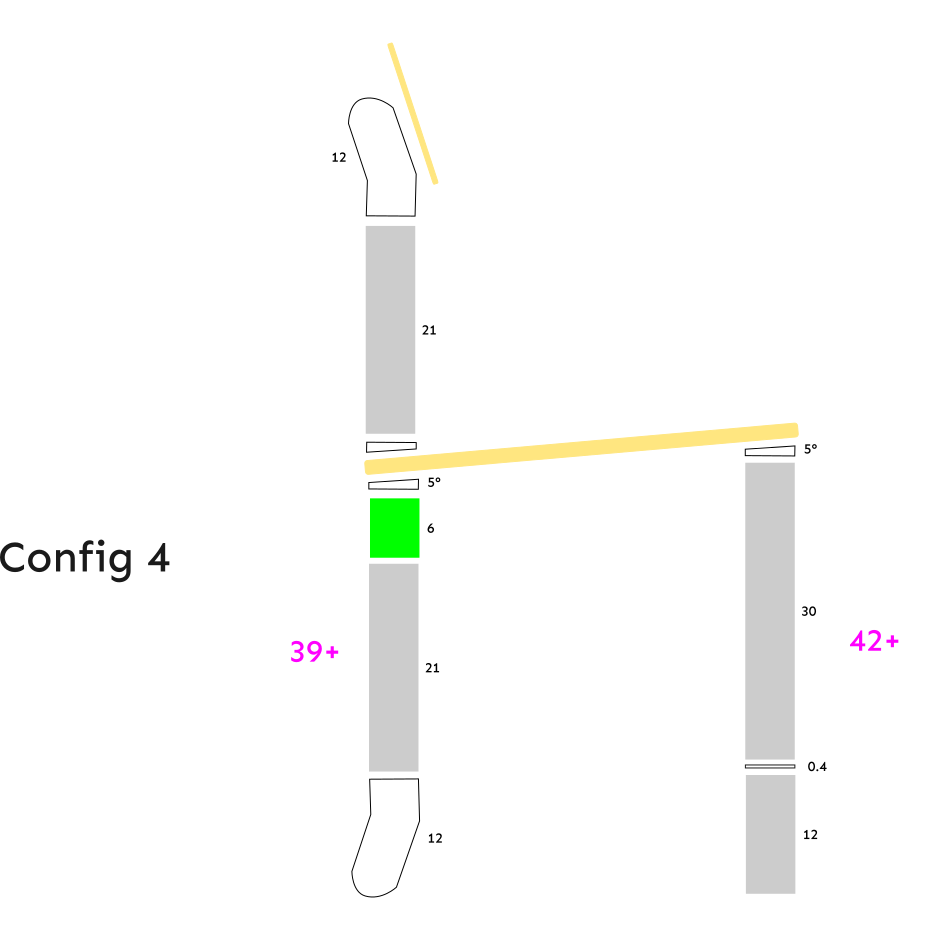
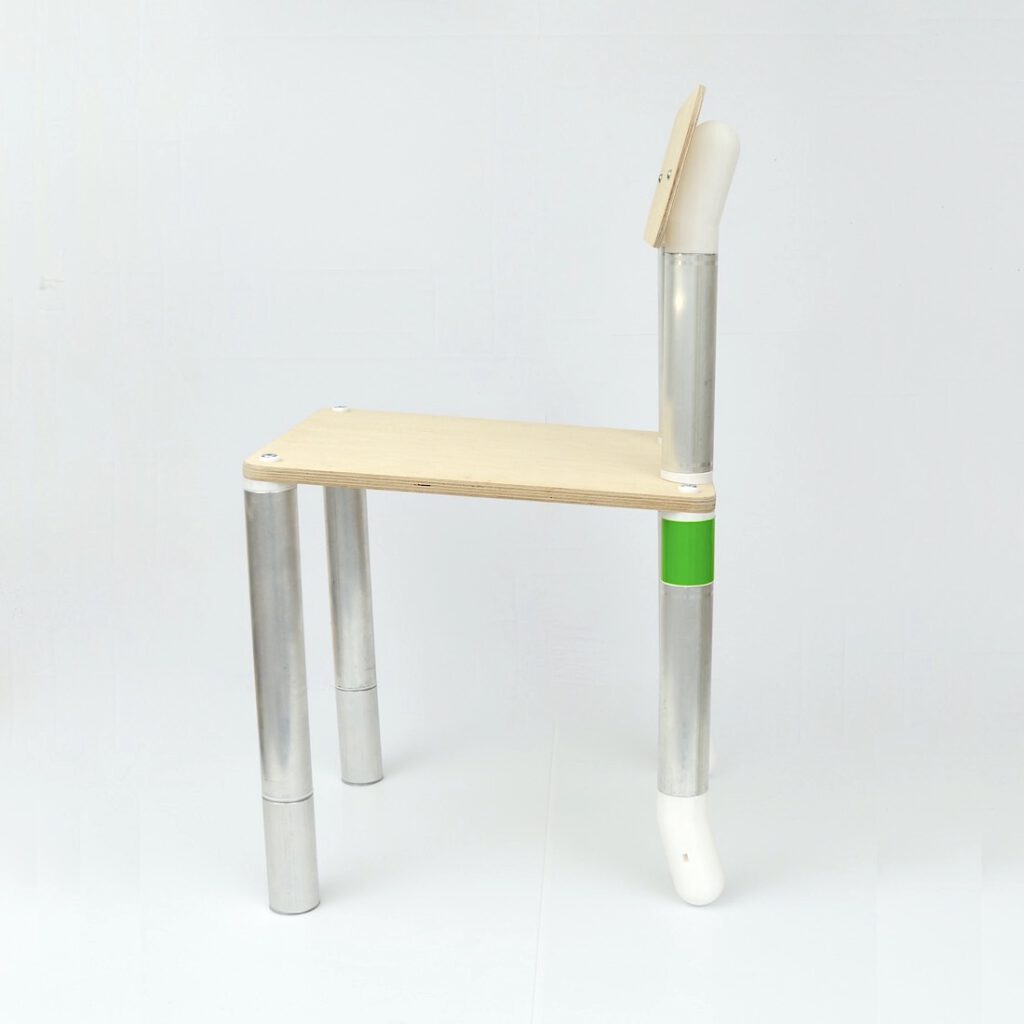
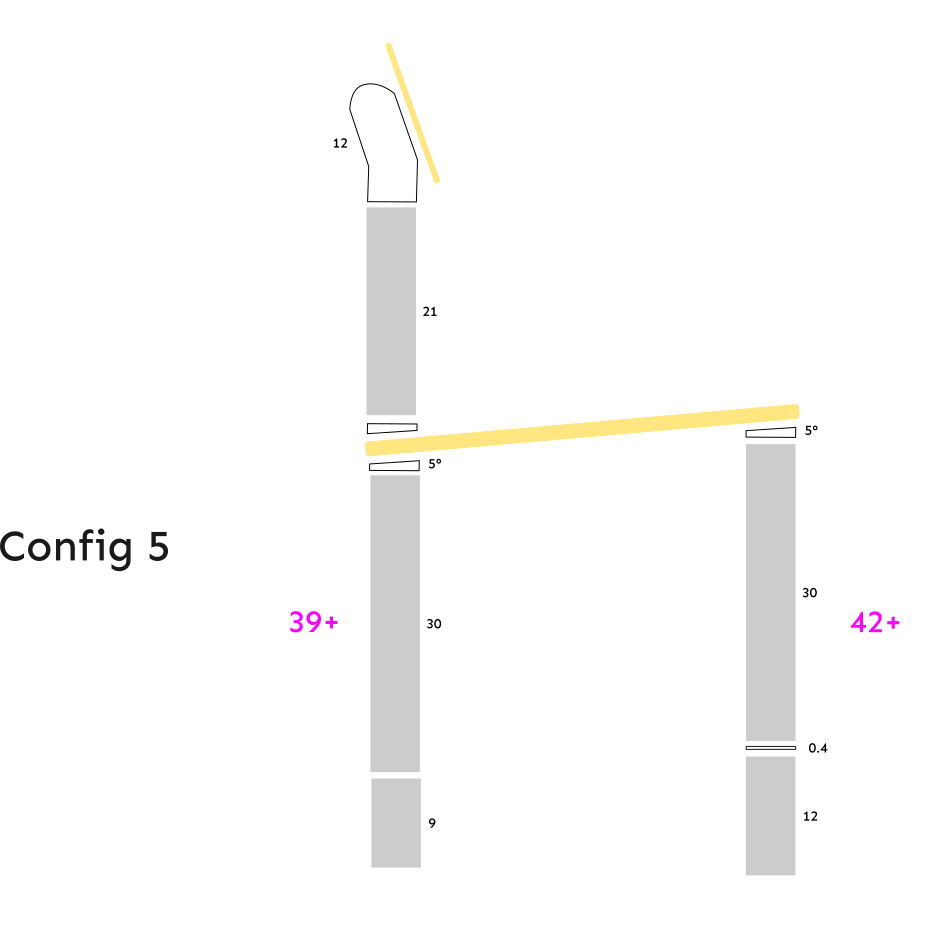
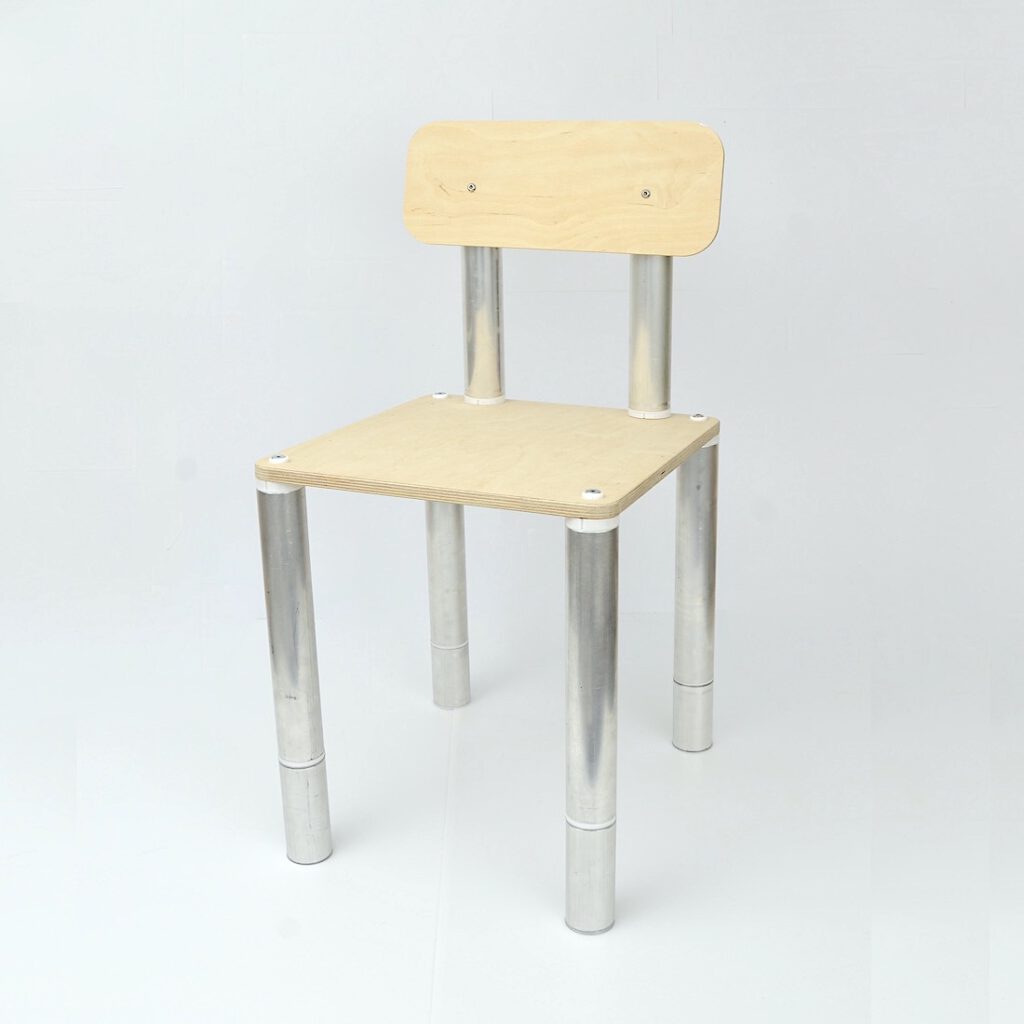
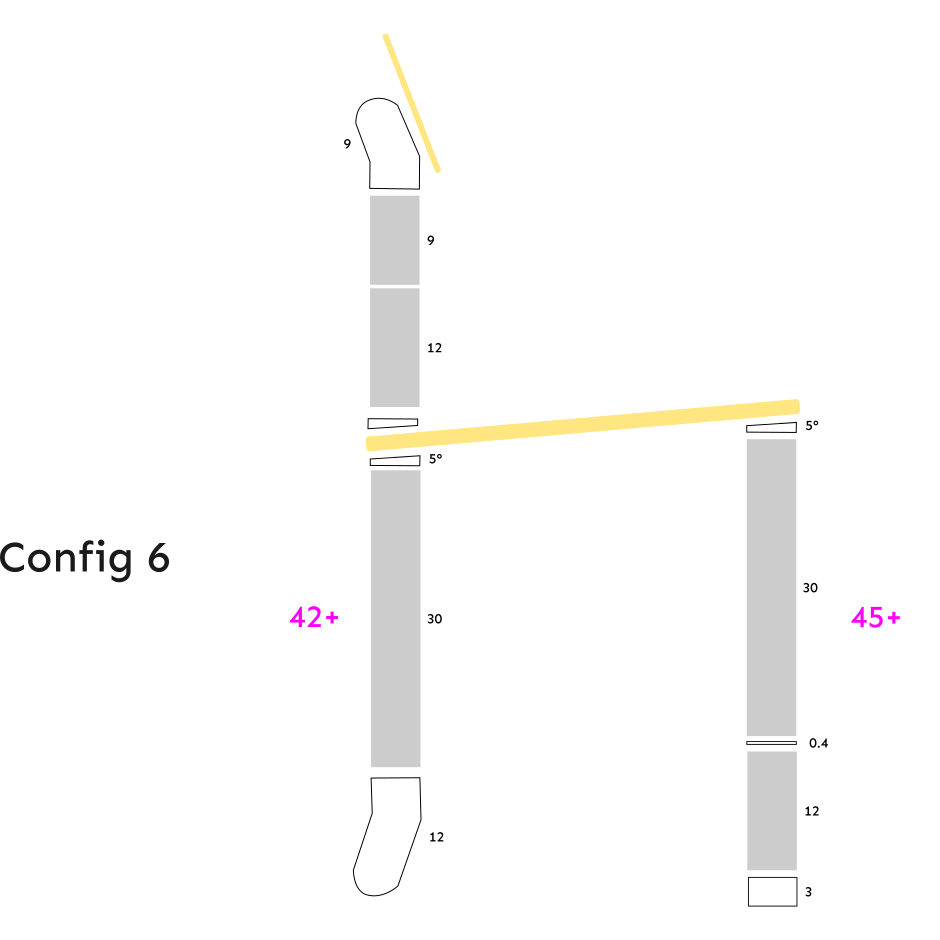
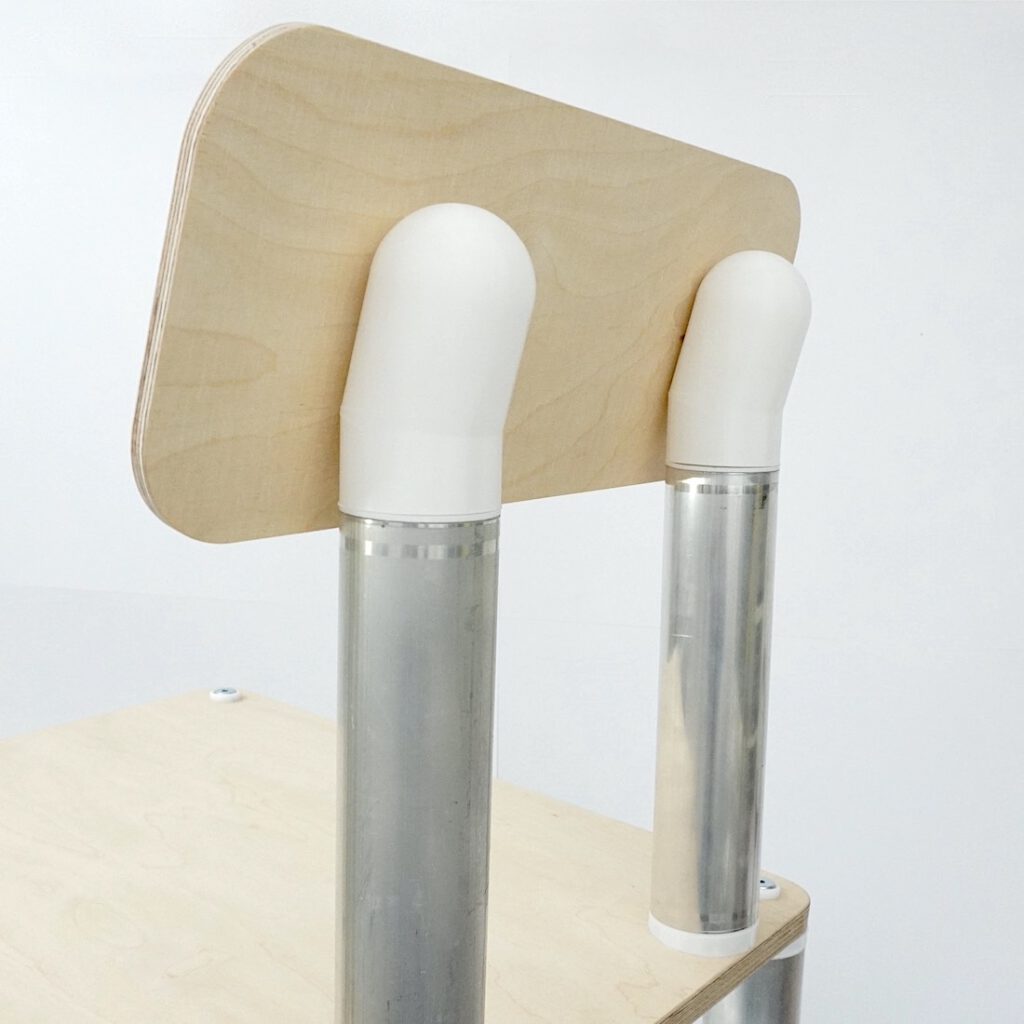
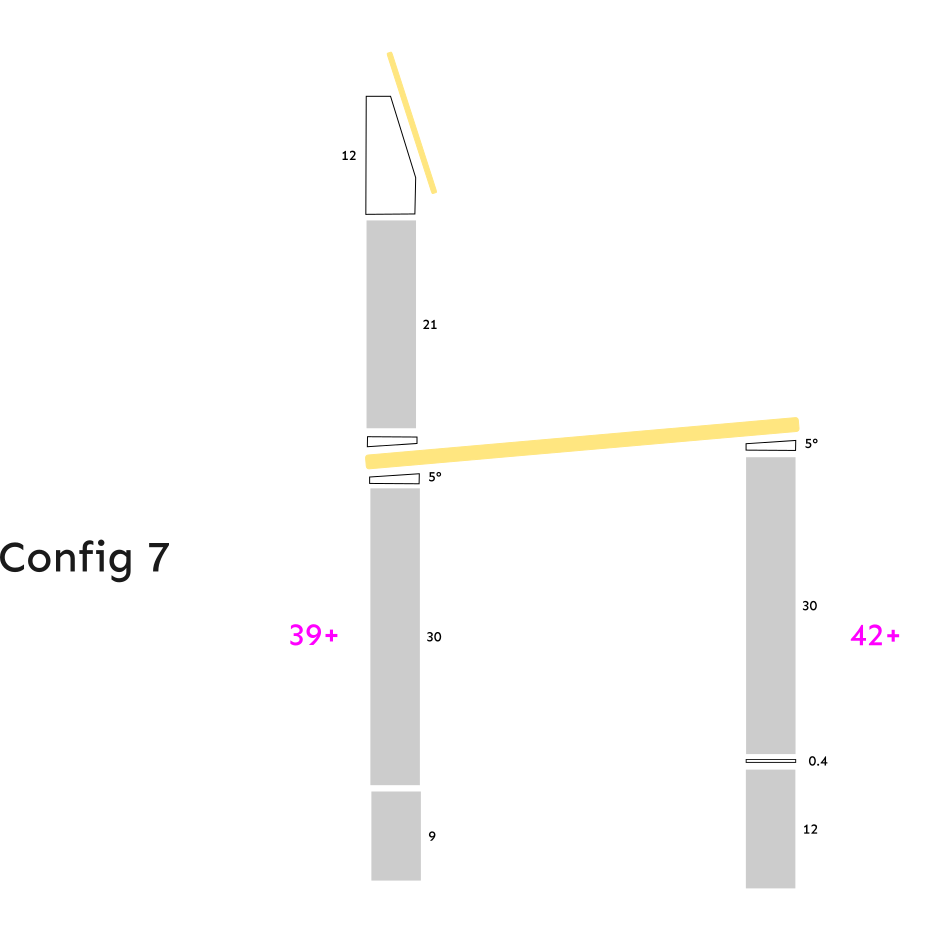
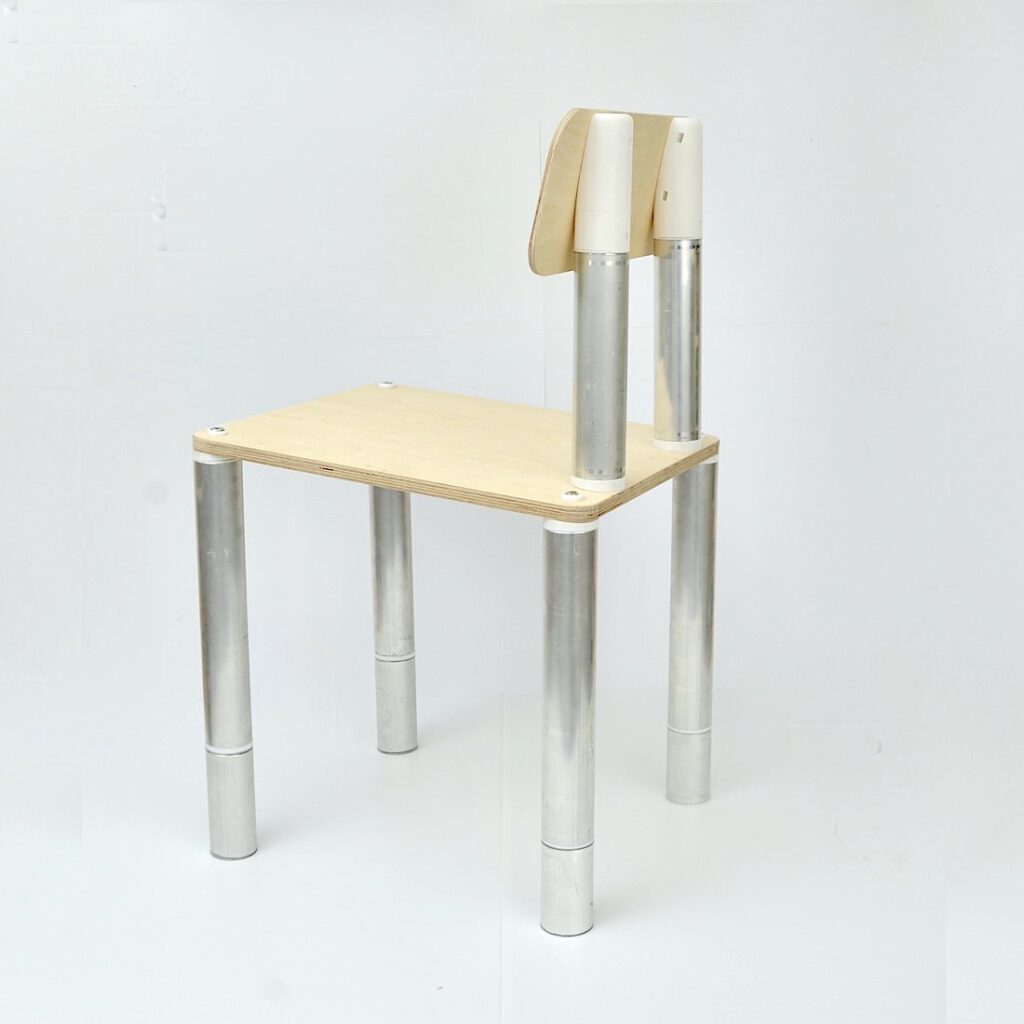
A couple more shots:
8
⚘
Ikego
This design is meant to be added to Ikego.
Ikego Parts used:
- 119.1
- 117.1
- 117.2
- 117.3
- 095.1, 095.2, 095.3, 095.4, 095.5 (we shared a new way to make them with downloadable stl below)
- 094.3, 094.2, 094.1
- 082.1, 082.2
- 030.1
- 004.1
IP protected:
undecided, date of publication October 24, 2024
Local Makes:
allowed, pls send 1 EUR per make to paypalme/lars2i
–
Design info
- The chair uses the Elephant Rods (095.1-095.5) from the Ikego parts catalogue. The makes of these parts here use the maximum tolerance of 15mm – the aluminium tubes are 50mm thick (we shared how we made these rods at the bottom of this post). The reason for this is that the contact surface between the legs and the seat absorbs all the forces that accumulate in the chair. The larger the contact surface, the better. See also the next point. To create these contact surfaces, the seat plate is also 10 mm wider on each side than is describe in the part documentation (below). So in total: 440×470 instead of 420×450.
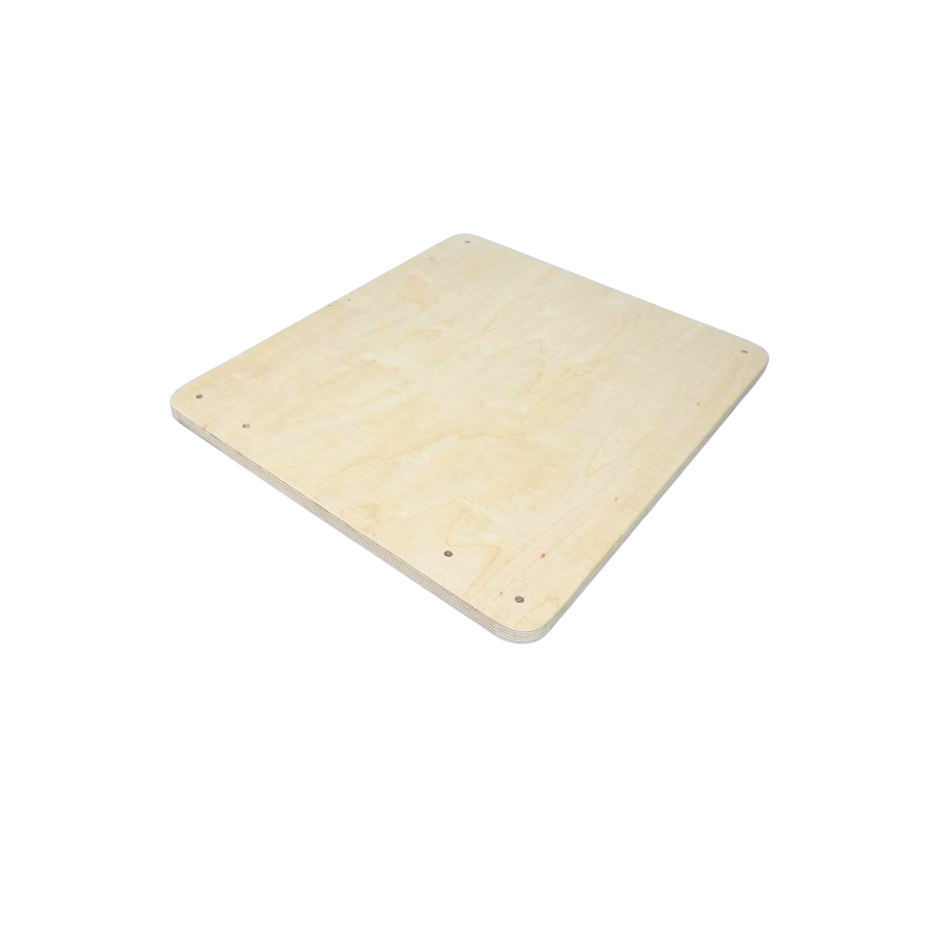
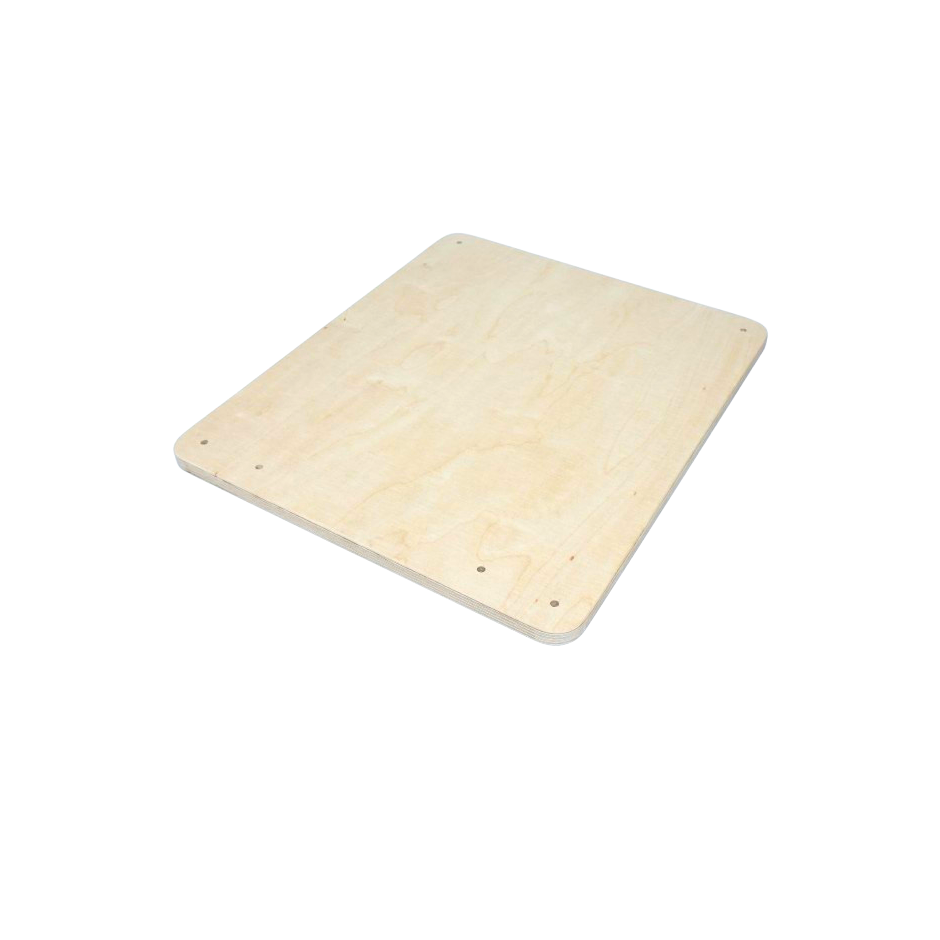
- A chair must be able to carry a lot of weight. The components should therefore be very sturdy. The Elephant rods should be able to be screwed very firmly to the seat and the seat must be very strong because this plate stabilises the chair.
- The seat and backrest are straight boards in the prototypes. However, if you have better machines at your disposal, you should have butt patterns and bends in the backrest and at the front end of the chair leg. Of course, it is also possible to incorporate other interesting curves into the backrest and seat within the tolerance.
↑ If you have the option of making the seat in this way, then you don’t have to use the 5° spacers.
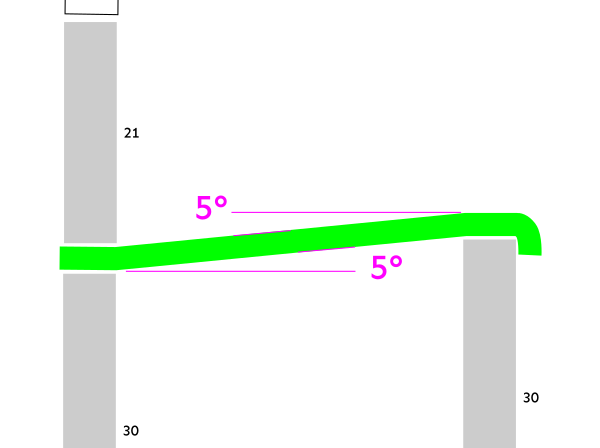
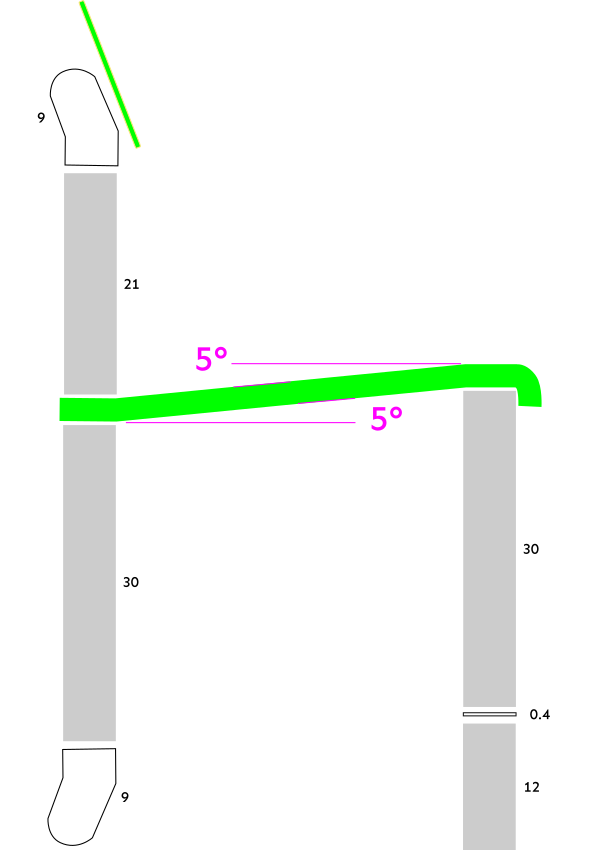
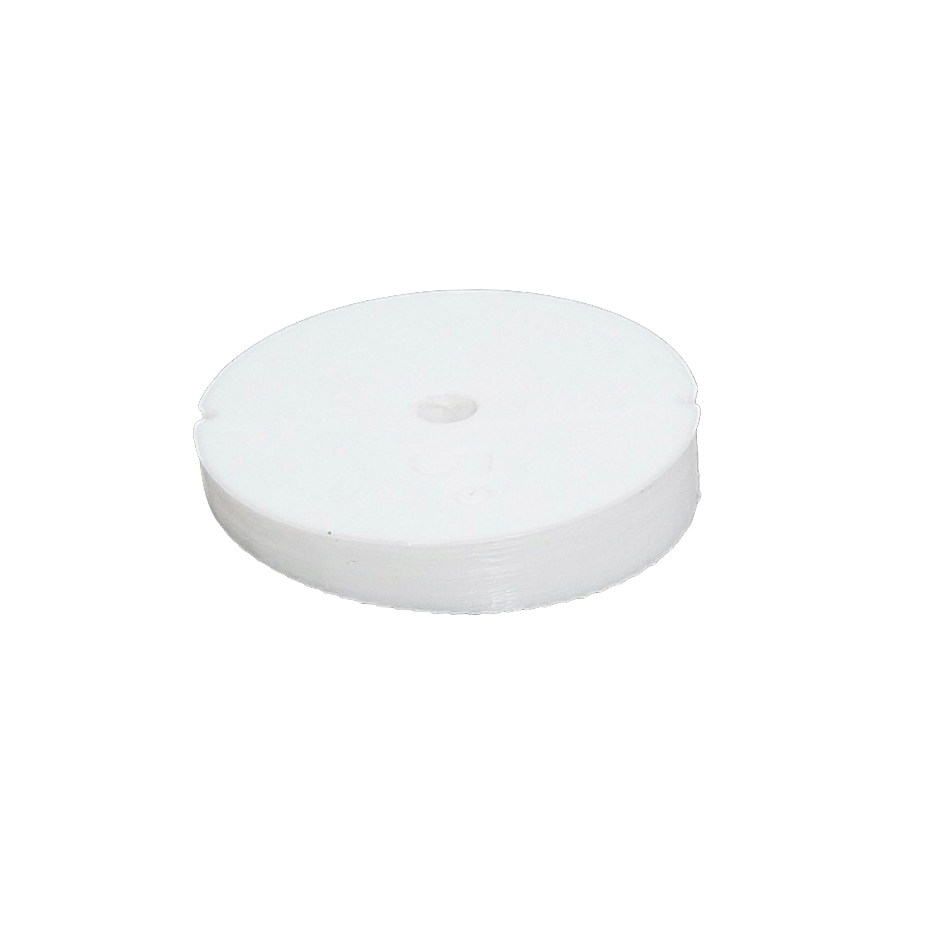
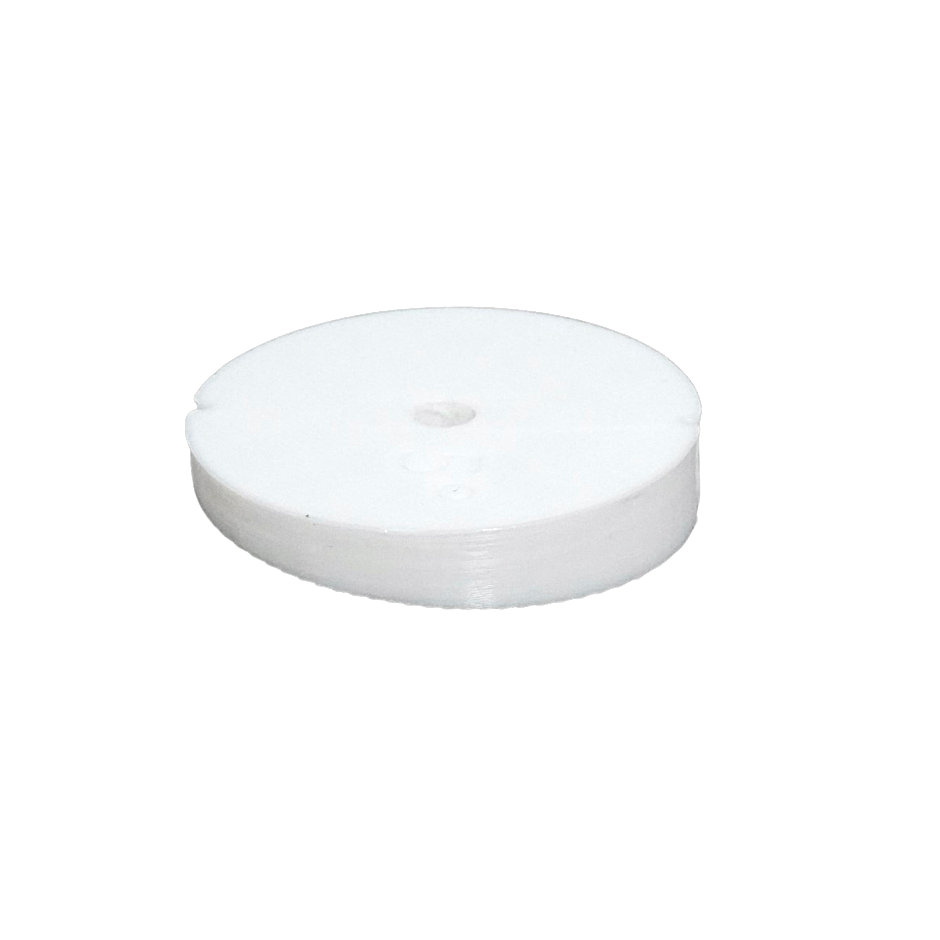
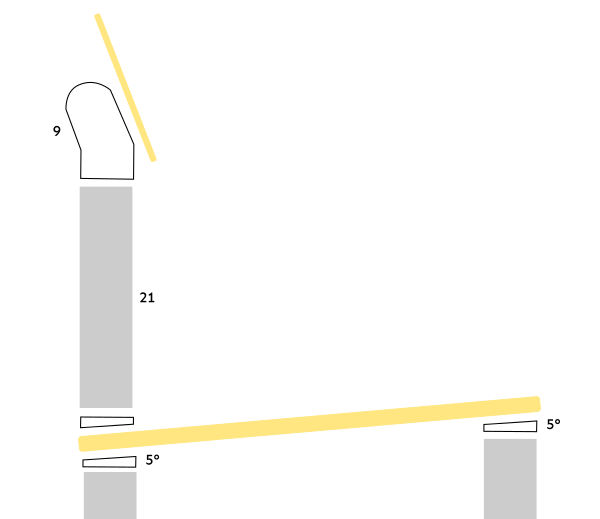
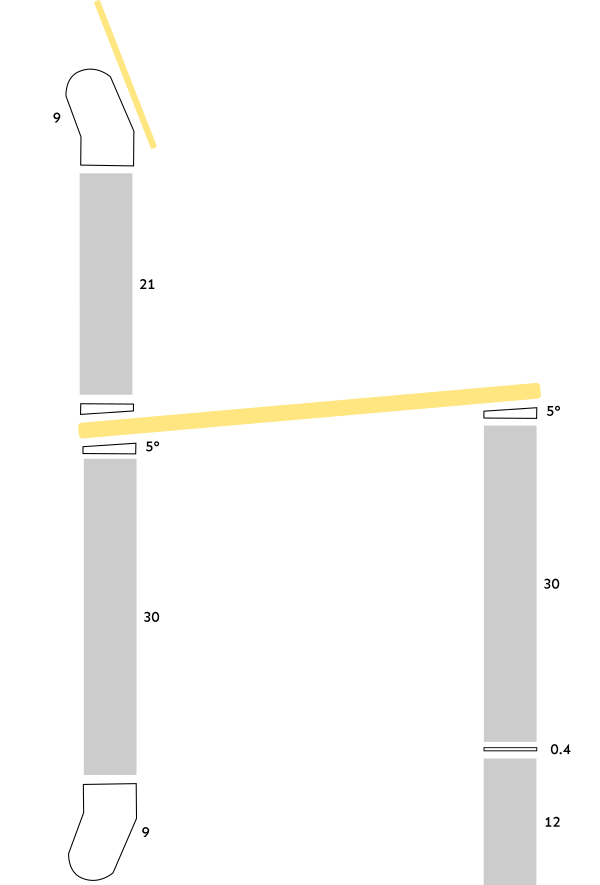
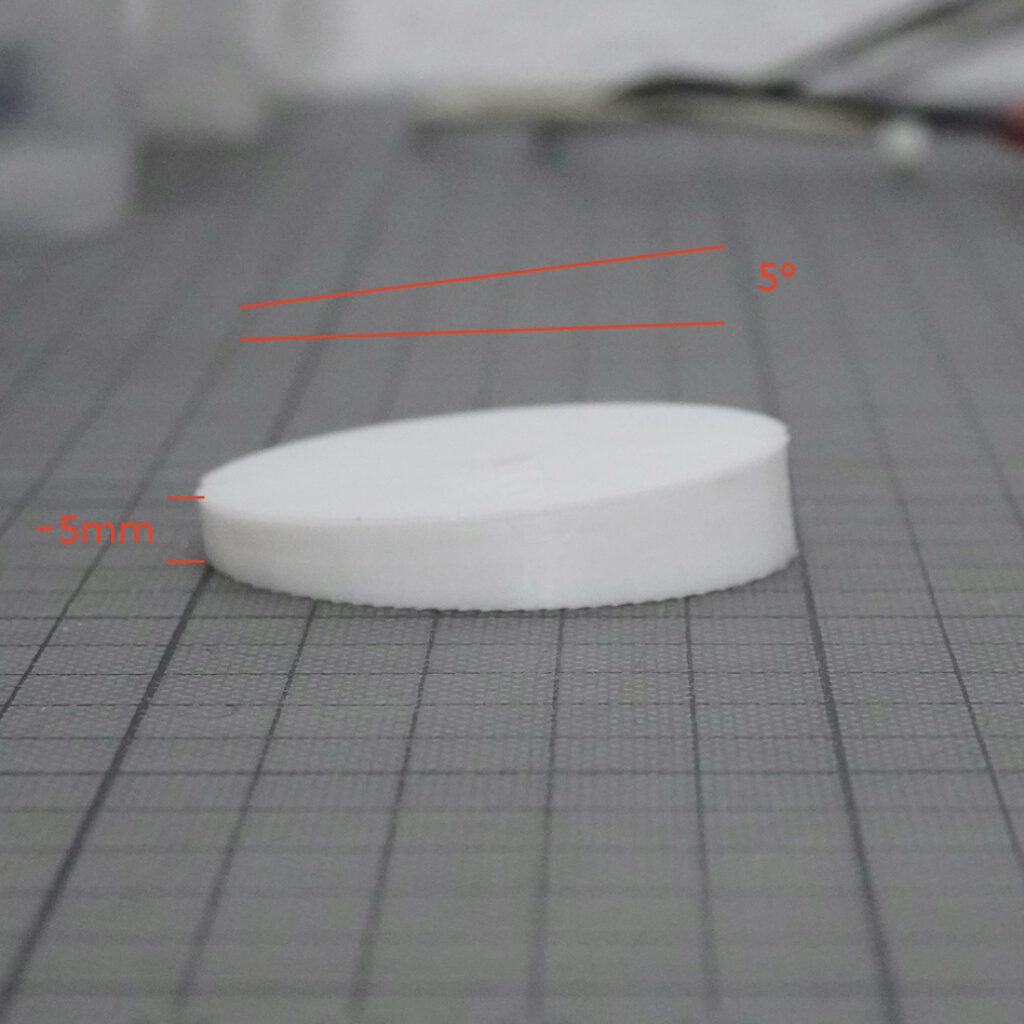
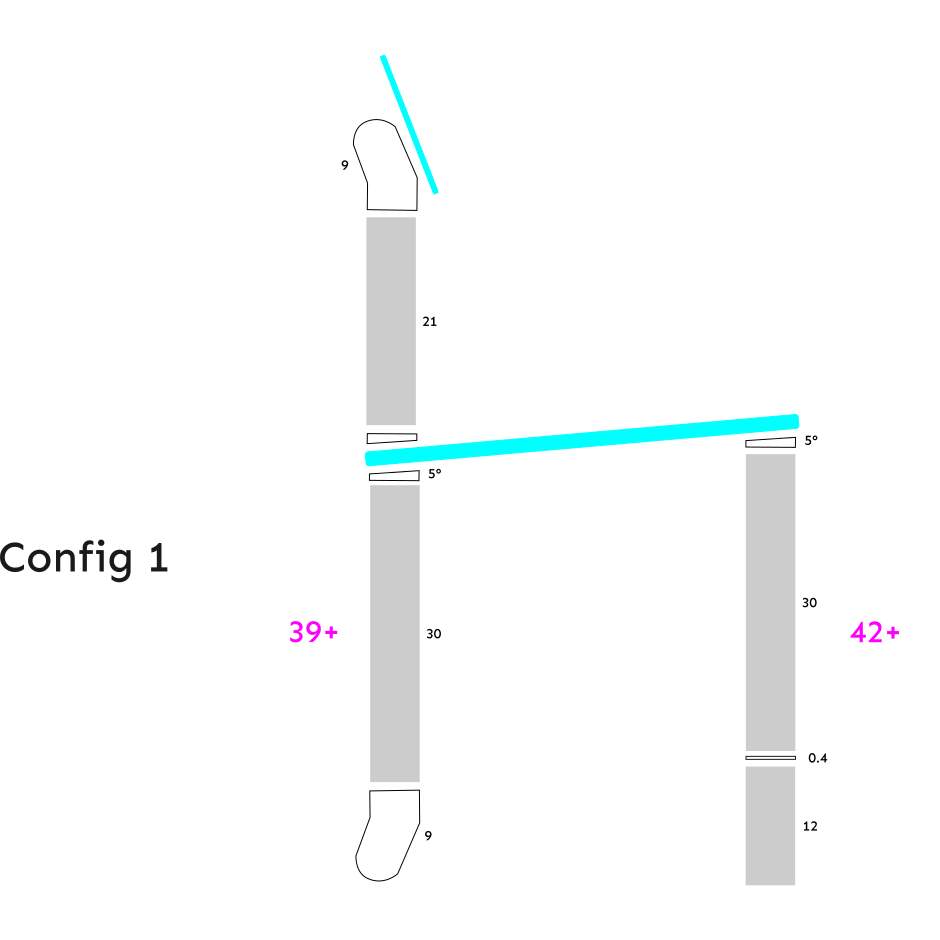
- Part of the design is a 4mm thick disc (004.1), which has the same circumference as the installed Elephant rods. The disc is necessary to adjust the length of the legs resulting from the 5° angle. See the documentation for the component with the 5° angle below.
- Anyone is free to adapt this chair further, e.g. to make a smaller version for children, which would then even manage with plastic tubes. Kids version!
- Some of our prototypes show colored bands/colored rings. These are there as placeholders to show that the inserts in the aluminium tubes can also be colored (and colorful), or that you could, for example, cover or highlight the joints between the individual rods with colored silicone bands or adhesive tape. ‘When it comes to the possibility of disassembling something, emphasise the connections!’
–
New Parts
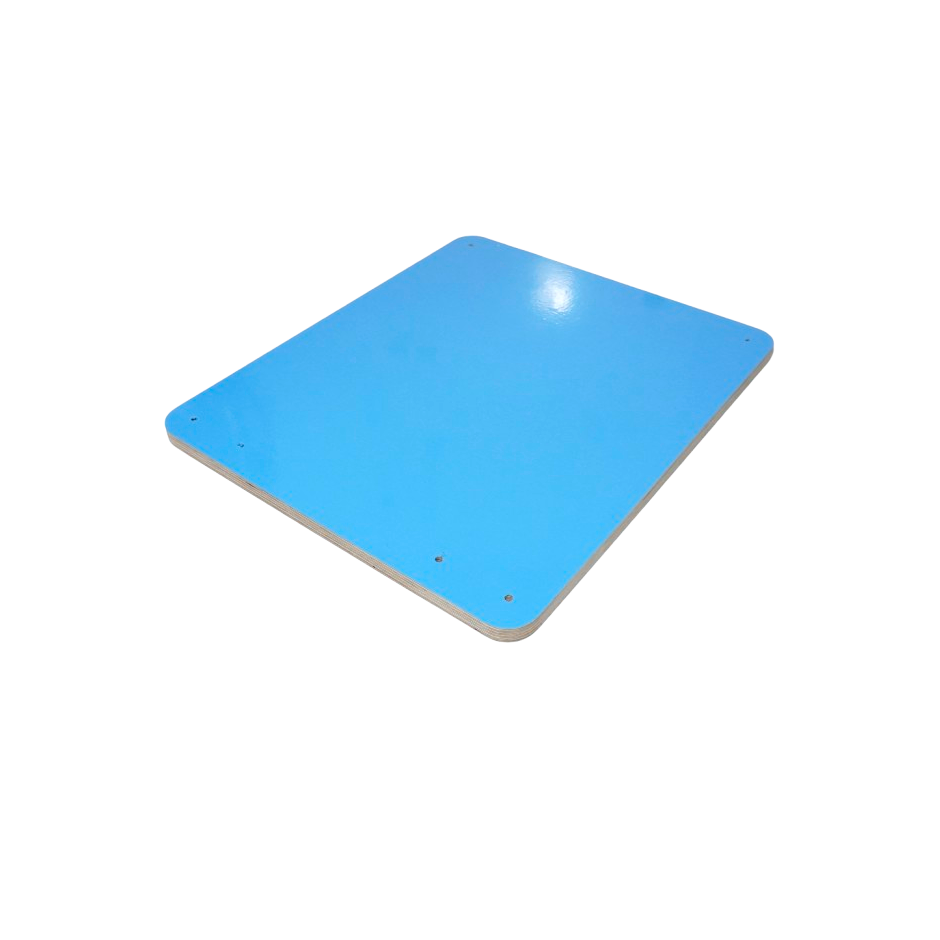
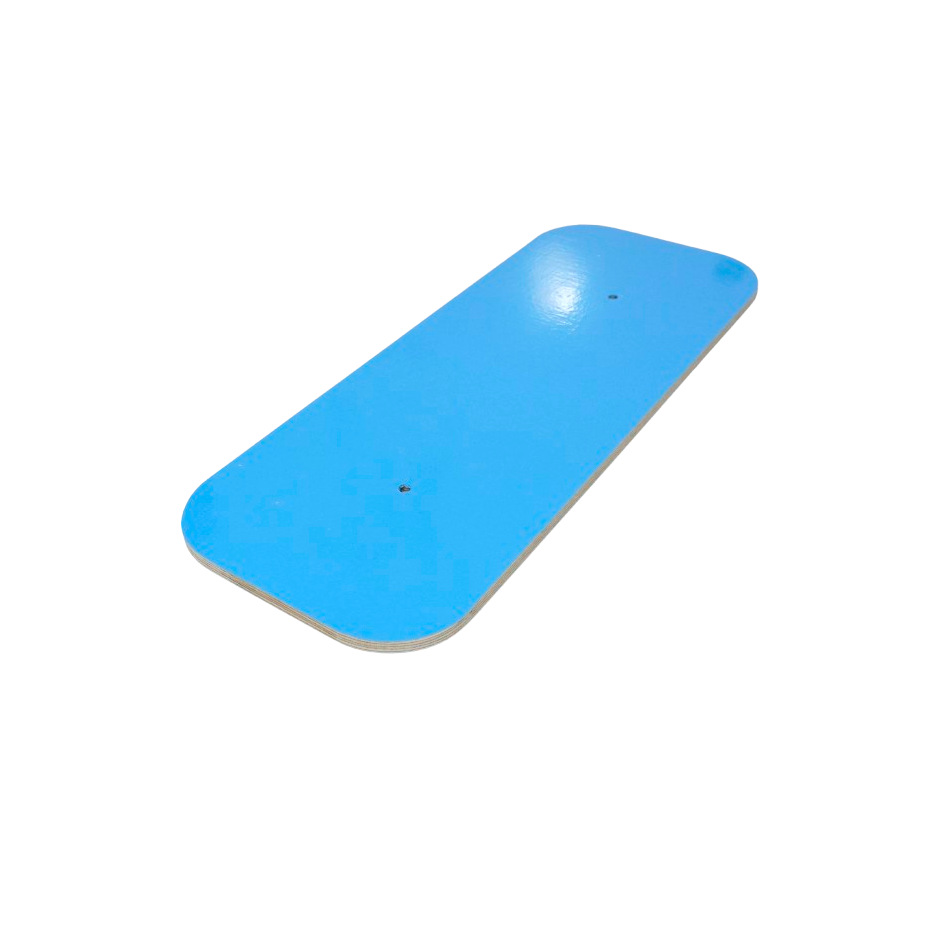
1) Seat
Basic Info
- What is it: a board
- Material: strong | standard tolerance
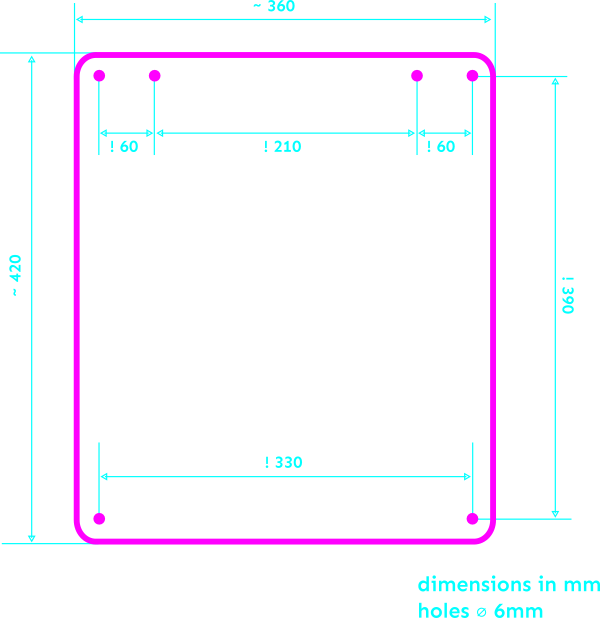
- Dimensions: ~360mm x ~420mm x ~16mm | standard tolerance
- Holes: 6 holes, Ikego Grid / 3erlin Grid, diameter 6mm, location see drawing
Get the part
- Buy: Available as local make
- Make: No instructions
Meta
- Introduced by: Lars Zimmermann
- Open: Shared under IPP 1.0
- Disclaimer: This part is just a concept and not fully tested. You should not assume that it works as indicated and I am not saying that it does. I disclaim any responsibility or liability for any damage caused during the construction and use of products based in whole or in part on the concept shown here. All information is provided for your use at your own risk.
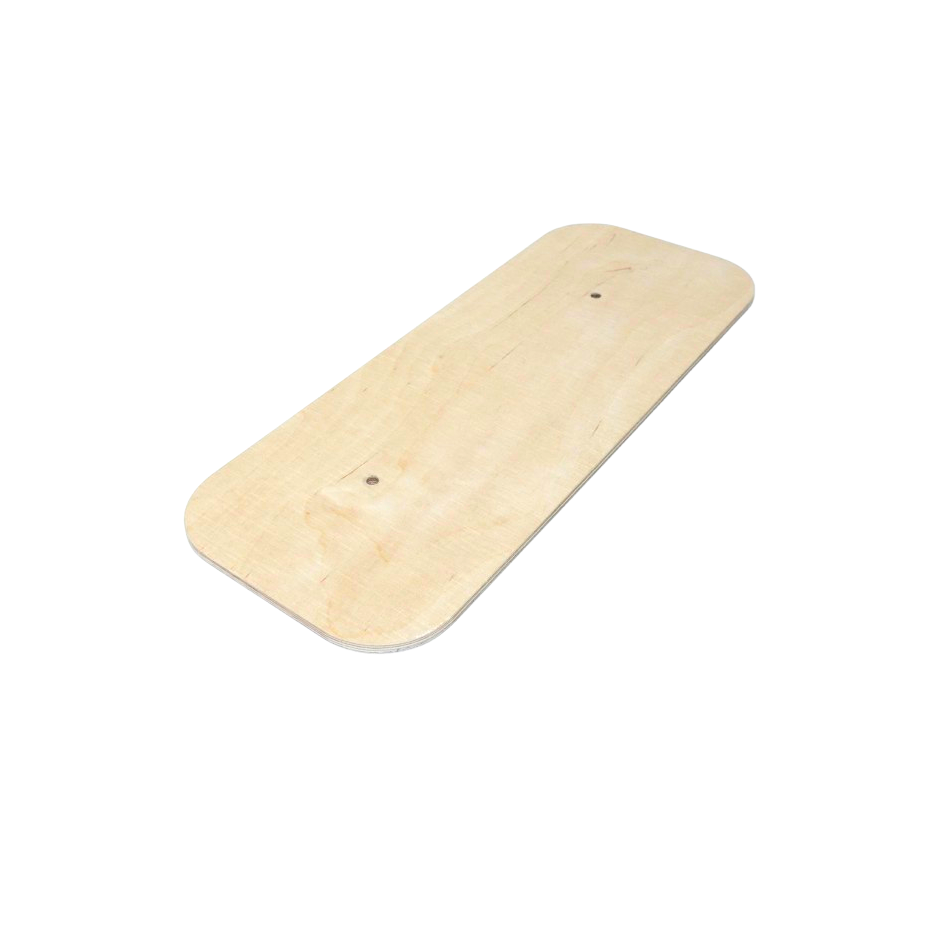
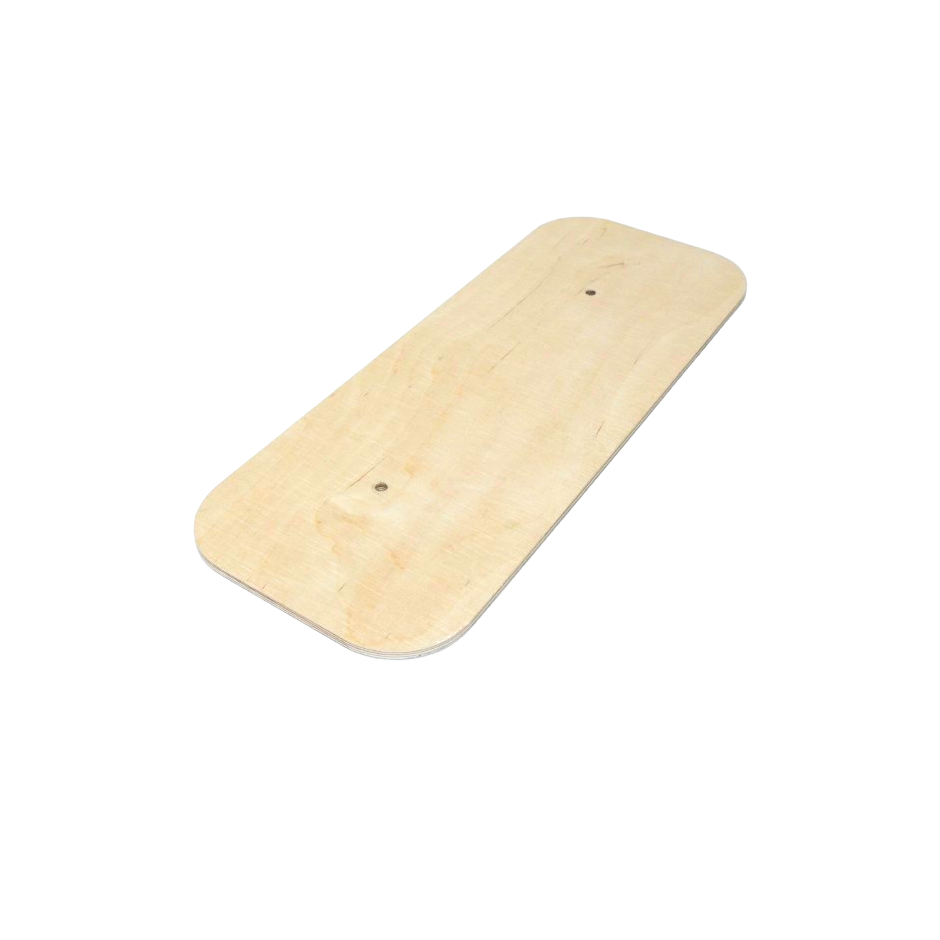
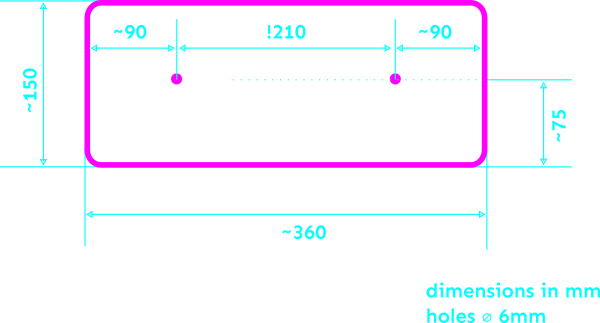
2) Backrest
Basic Info
- What is it: a board
- Material: strong | standard tolerance
- Dimensions: ~360mm x ~150mm x ~16mm | standard tolerance
- Holes: 2 holes, Ikego Grid / 3erlin Grid, diameter 6mm, location see drawing
Get the part
- Buy: Available as local make
- Make: No instructions
Meta
- Introduced by: Lars Zimmermann
- Open: Shared under IPP 1.0
- Disclaimer: This part is just a concept and not fully tested. You should not assume that it works as indicated and I am not saying that it does. I disclaim any responsibility or liability for any damage caused during the construction and use of products based in whole or in part on the concept shown here. All information is provided for your use at your own risk.
3) 5° Spacer
Basic Info
- What is it: a spacer with a 5° angle, more explanation below
- Material: strong | standard tolerance
- Dimensions: diameter ~35mm, height ~5mm | standard tolerance
- Holes: 1 holes, diameter 6mm
Explanation of the part:
- How does this component work? It allows a 5° angle to be packed onto a surface – e.g. for a chair like WORMS.
- But what does that mean? For a chair, it means that the front leg is extended, depending on how long the seat is. Since we know the length of side C (the distance between the holes on the seat, see illustration above) and two angles, we can use simple angle maths to calculate the length of side b and thus the extension of the front leg of a chair. Here is an online calculator for this.
- For Worms, for example, this means that the length C is 390mm (distance between the holes in the seat plate) and therefore the front legs of the chair must be 33.3991mm longer than the rear legs. This is why WORMS as a 4mm thick disk in its parts list.
Get the part
- Buy: Available as local make
- Make: No instructions
Meta
- Introduced by: Lars Zimmermann
- Open: Shared under IPP 1.0
- Disclaimer: This part is just a concept and not fully tested. You should not assume that it works as indicated and I am not saying that it does. I disclaim any responsibility or liability for any damage caused during the construction and use of products based in whole or in part on the concept shown here. All information is provided for your use at your own risk.
–
Addition make info
A way to make the elephant rods
The elephant rods are parts from the Ikego catalog (095.1, 095.2, 095.3, 095.4, 095.5). To make WORMS we came up with a different way to make them we’d like to share:
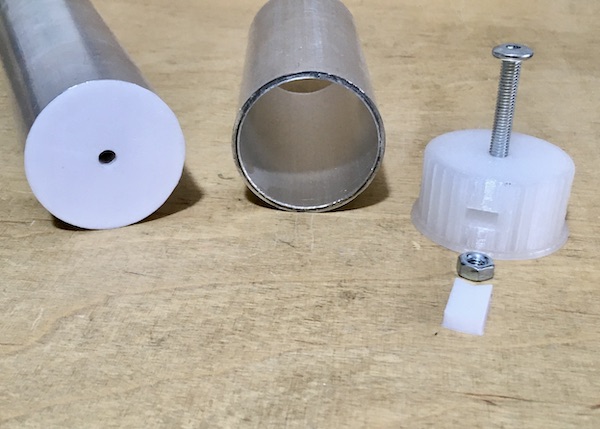
“One way to make this part is to take normal pipes and then insert inserts with threaded inserts into them. There are different ways of making these inserts and also different ways of attaching them to the tube.
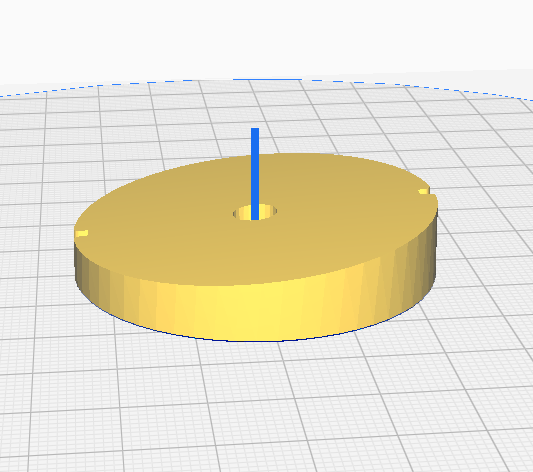
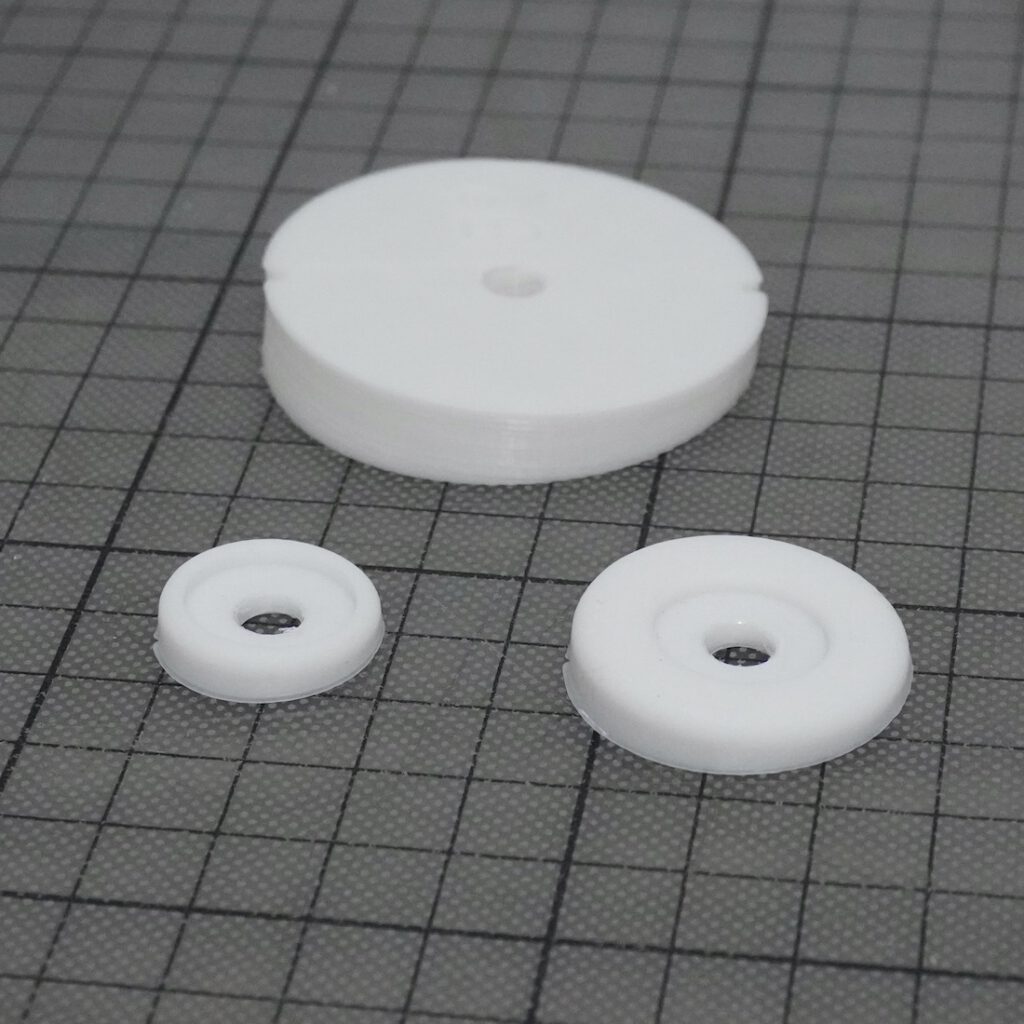
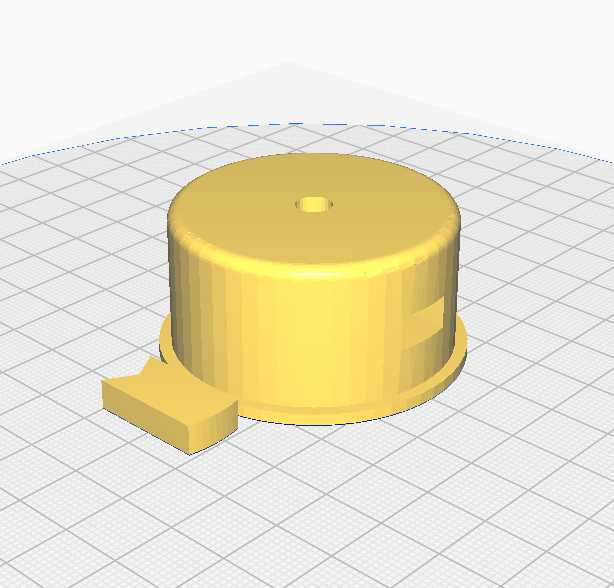
Here is a picture of a 3D printed insert that works in a 50mm tube with 2mm wall thickness. If you happen to find a tube with these dimensions, you can use it (download link below). If the tube is strong (e.g. aluminium), you may not need to glue or screw the insert in. You might get lucky and it will just stay in.
The 3D printed part works with a channel for a normal M6 screw and a “lock” that you can put in there. Of course, this part needs to be printed with a strong infill, because the part is holding the nut in place, and if you’re going to put a lot of pressure on it to ensure a stable connection, the 3D printed walls need to be able to withstand that pressure. If the component is not strong enough, the M6 nut will break the walls and start to rotate inside the component.
